

Vintage Australian Pink Jelly Coconut Cakes are the answer when you want something sweet, cute, and a little bit nostalgic, but you do not want to wrestle with a complicated bake. I first made these on a hot afternoon when I needed a dessert that felt fun for kids and adults, and also did not require fancy decorating skills. They have that soft little sponge bite, the bright pink jelly coating, and the coconut that sticks to your fingers in the best way. If you grew up around school bake sales, church mornings, or family picnics, you probably know the vibe. If you did not, you are about to understand it fast. 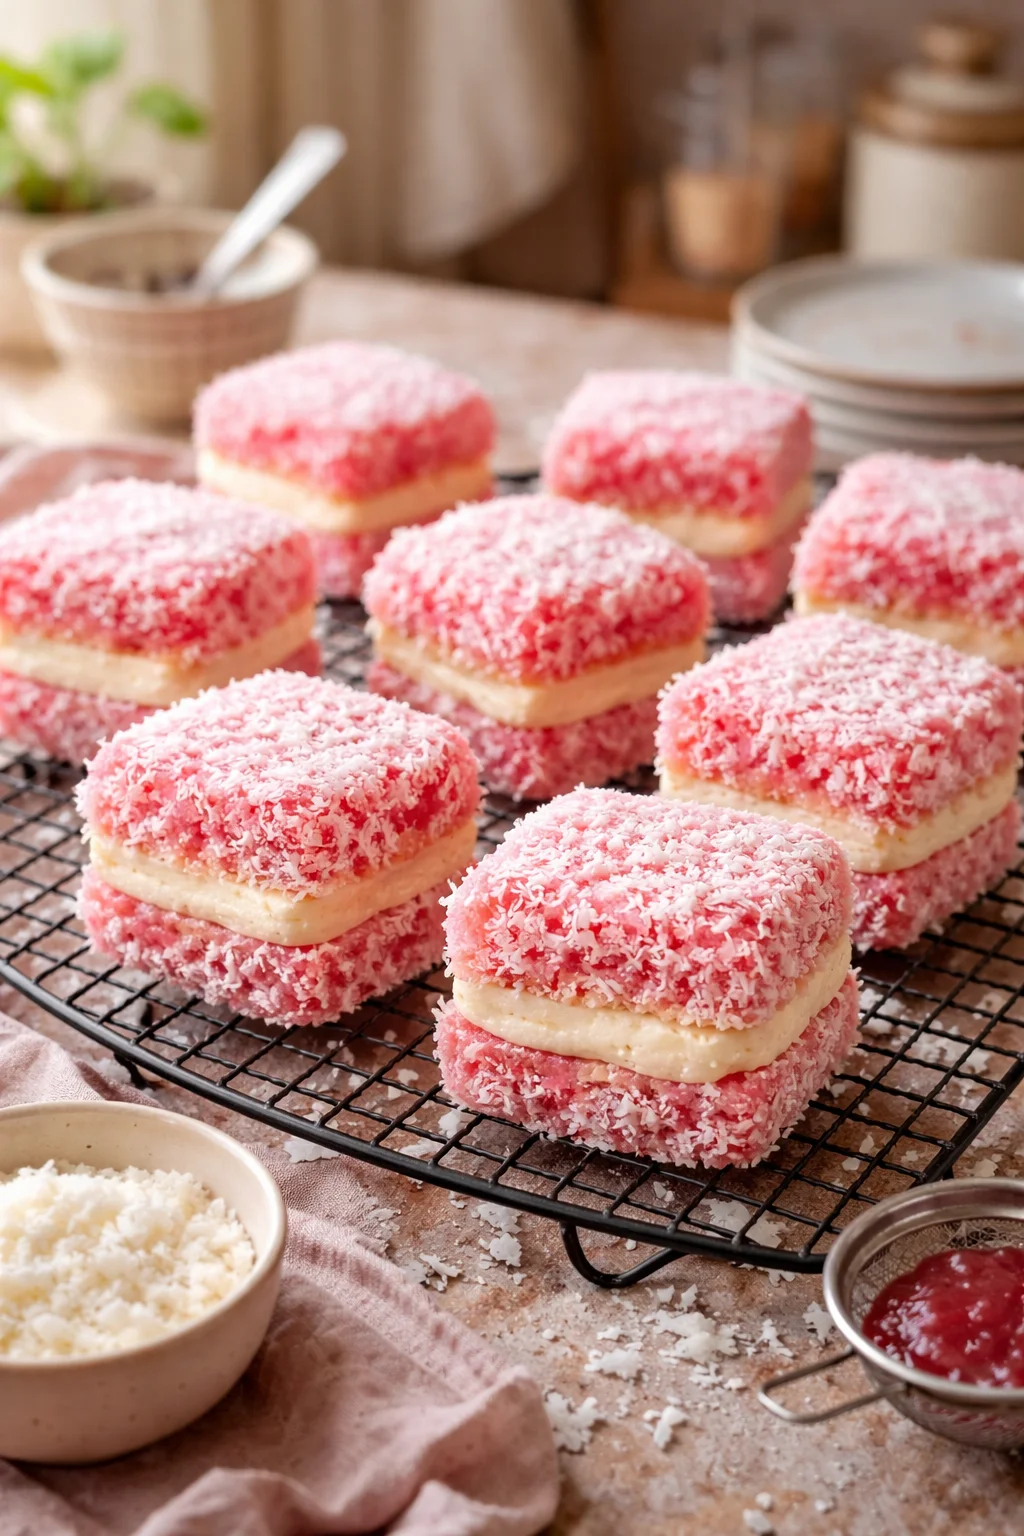
What are Jelly Cakes
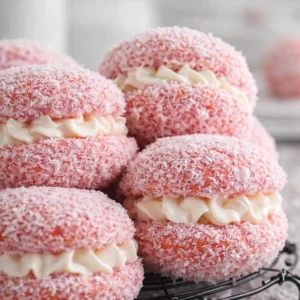
Jelly cakes are small sponge cakes dipped in a thin jelly mixture, then rolled in desiccated coconut. The jelly sets into a shiny coating that gives the cakes their signature look and a sweet, fruity punch. In Australia, the classic version is pink, usually raspberry or strawberry flavored, and it is basically a cousin to lamingtons, just dressed up in jelly instead of chocolate.
They are sometimes called “jelly lamingtons” or “pink coconut squares” depending on who is talking, and every family seems to have their own tiny twist. Some people swear by homemade sponge, others grab store bought sponge cakes when life is busy. I do both, depending on the week I have had.
If you are into old school baking, I have a soft spot for browsing recipes like this roundup of sweet nostalgia vintage cakes like grandma used to make. It always puts me in the mood to preheat the oven and play some old music in the kitchen.
The best part is the texture contrast. The sponge is light, the jelly layer is slightly bouncy once set, and the coconut gives that fluffy bite. Vintage Australian Pink Jelly Coconut Cakes also look so cheerful on a plate that people reach for them before they even ask what they are.
How to make Jelly Cakes
I am going to share the version I actually make at home. It is simple and reliable, and it tastes like the jelly cakes I remember. You can bake your own sponge in a slab pan and cut it into squares, or you can use mini sponge cakes if you are truly trying to keep things easy.
Step by step directions (the easy, no stress way)
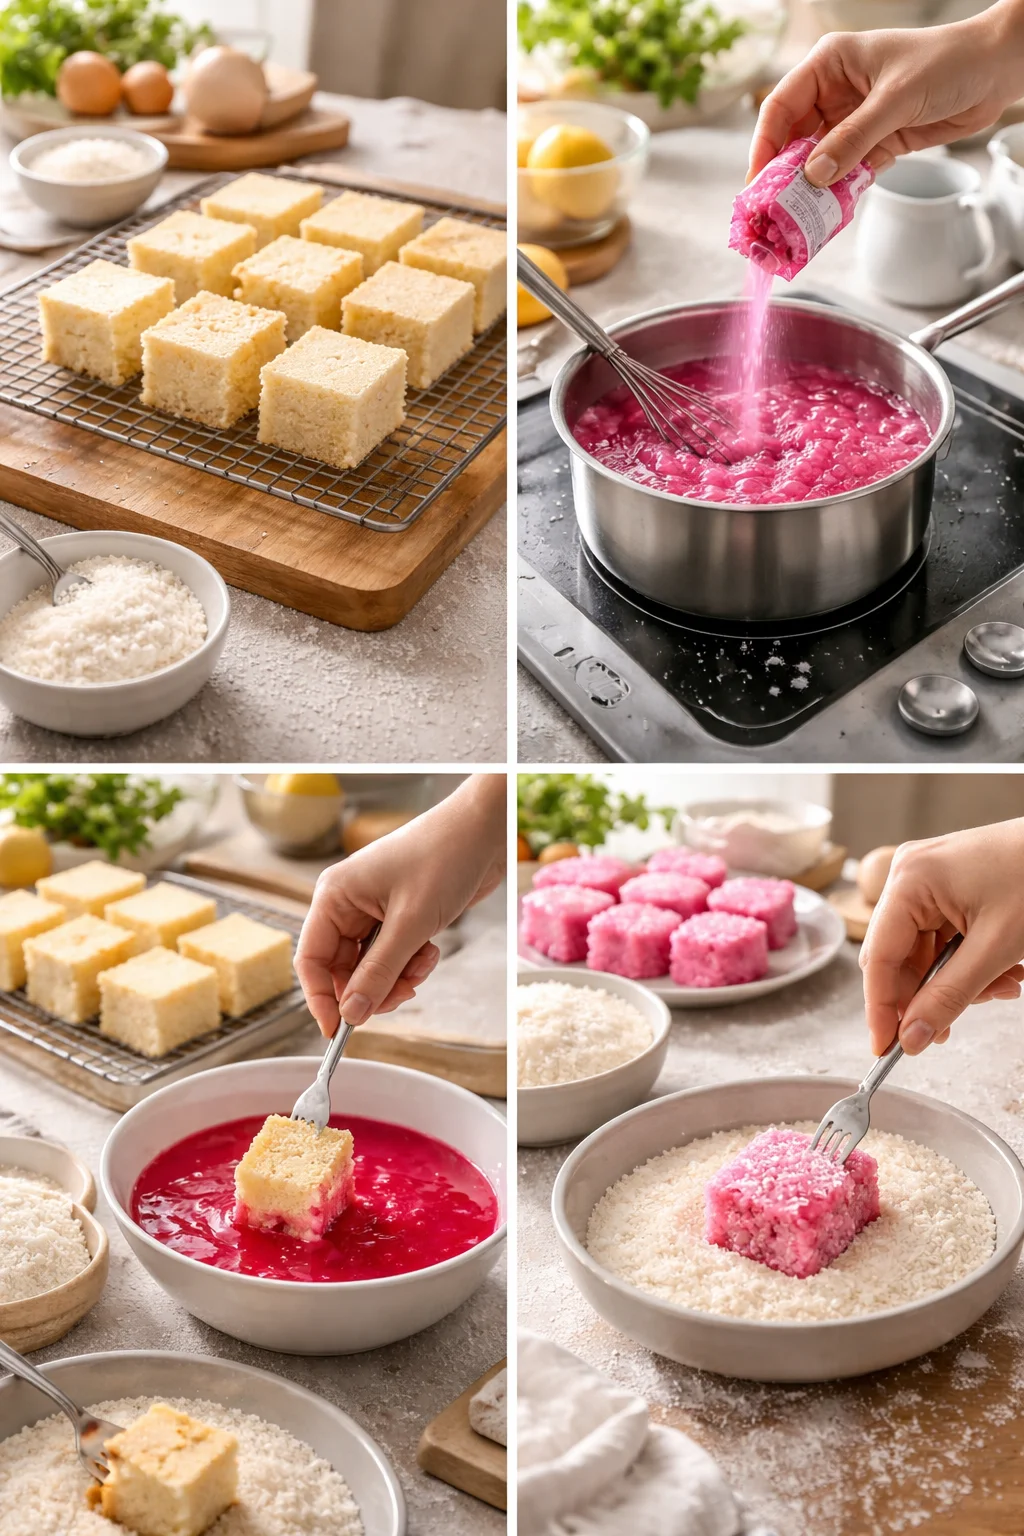
- Bake the sponge (or prep your store bought sponge). Let it cool completely, then cut into even squares or rectangles.
- Dry the sponge slightly. This helps it hold up when dipped. I like to leave the cut pieces uncovered for 1 to 2 hours, or pop them in the fridge for a bit.
- Make the jelly dip. Dissolve raspberry or strawberry jelly crystals in boiling water, then add a little cold water. Let it cool until it is no longer hot, but still liquid.
- Dip quickly. Use two forks to dunk each sponge piece into the jelly. Turn it to coat all sides, then lift and let excess drip off for a couple seconds.
- Roll in coconut. Drop the jelly coated cake into a bowl of desiccated coconut and gently cover all sides.
- Set. Place on a rack or tray lined with baking paper. Let them set at room temp, then chill if you want a firmer finish.
That is it. The key is not soaking them too long. A quick dip gives you that bright coating without turning the sponge into a soggy mess.
Also, if you enjoy other small treat style bakes, you might like these decadent pecan praline mini cakes for a totally different mood, more caramel and crunch, less childhood pink.
;
My tips for making these childhood favourite cakes
I have made enough batches of Vintage Australian Pink Jelly Coconut Cakes to learn where things can go a bit sideways. Here is what I do now, and it saves me every time.
Little tricks that make a big difference
Cool the jelly before dipping. If your jelly is too warm, the sponge drinks it up and the coating ends up patchy. I aim for cool but still fluid, like a warm tea that is safe to sip.
Dry the sponge first. Fresh, super soft sponge can crumble. Drying it just a bit makes it sturdier and helps the jelly cling to the outside instead of flooding the inside.
Work in small batches. Dip two or three pieces, roll them, then repeat. If you dip everything first, the jelly can start setting before you coconut coat them, and then the coconut will not stick as well.
Use a shallow bowl of coconut. You want to be able to lift and tumble the cake gently. Pressing too hard can dent the sponge.
Let them set properly. They taste best once the jelly coating has firmed up. I usually give them at least an hour, then taste test. Quality control, obviously.
“I made these for my kids after school and my mum teared up a little. She said they tasted exactly like the jelly cakes at her primary school canteen. That is basically the highest compliment I could get.”
One more thing. Do not panic if your first few look messy. They still taste great. By the fifth one, you will be dipping like a pro.
Ingredients needed for Jelly Cakes
Here is what you will need. I am keeping it practical and supermarket friendly. This is the kind of recipe you can decide to make on a whim and still pull off.
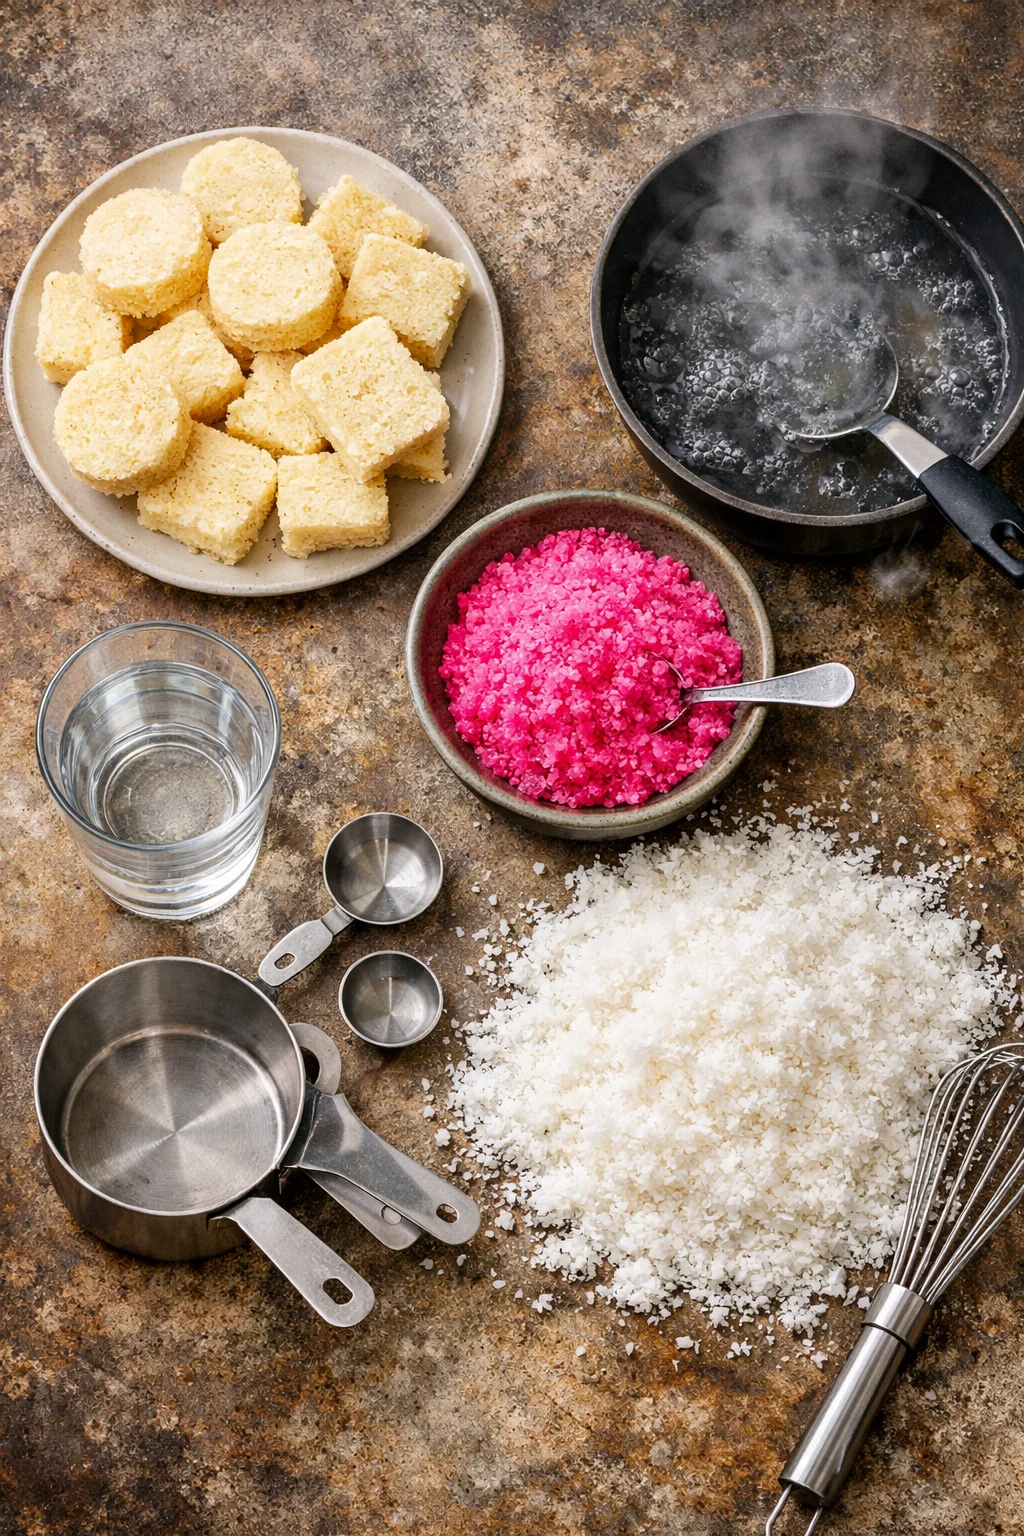
Ingredients list
- Sponge cake: homemade sponge slab, store bought sponge, or plain vanilla cupcakes cut into shapes
- Pink jelly crystals: raspberry or strawberry are the classic flavors
- Boiling water: to dissolve the jelly
- Cold water: to cool it down and set the right strength
- Desiccated coconut: plenty of it, because it gets everywhere
Optional but nice: a tiny squeeze of lemon in the jelly dip if you want a bit of brightness, or a drop of pink food coloring if your jelly is a pale shade and you want that bold party pink.
Tool wise, you really just need two forks, two bowls (one for jelly, one for coconut), a rack or tray, and a bit of patience.
If coconut is your comfort ingredient too, you might want to peek at this heavenly coconut cloud cake when you are planning your next bake.
More Australia Day
These little cakes are such a winner for Australia Day because they are easy to share, easy to transport, and they look festive even without decorations. I usually put them on a big platter next to lamingtons, fairy bread, and fresh fruit, and they are the first thing to disappear.
If you are hosting, here are a few simple serving ideas:
Keep them cool if it is hot out. The jelly coating is happiest when it is not baking in the sun.
Make them the day before. Vintage Australian Pink Jelly Coconut Cakes actually set up nicely overnight, and the flavor settles in.
Offer a mix. If you are doing a dessert table, pair them with something creamy or chocolatey so there is variety.
And if your Australia Day morning starts early, I am the kind of person who does something simple for breakfast so I can focus on the sweets later. These fluffy pancakes made easy are a solid way to keep everyone happy before the dessert plate comes out.
Common Questions
1) Can I use store bought sponge cake?
Yes, absolutely. It is a great shortcut. Just choose a plain sponge, not one soaked in syrup, and dry the cut pieces for a bit before dipping.
2) Why is my coconut not sticking?
Usually the jelly started setting before the coconut went on, or the sponge was too wet and the coating slid off. Work in small batches and keep the jelly cool but still liquid.
3) How long do jelly cakes last?
In an airtight container in the fridge, they are good for about 3 days. They are best in the first 1 to 2 days when the sponge still feels light.
4) Can I freeze them?
You can, but the jelly coating can weep a bit when thawed and the coconut can get damp. If you do freeze, thaw in the fridge and expect the look to be a little less tidy.
5) Do I have to make them pink?
Nope. Pink is classic, but you can use any jelly flavor and color. Lime is fun, and orange is great for kids parties.
A sweet little throwback you will want to make again
Vintage Australian Pink Jelly Coconut Cakes are one of those simple bakes that bring people together fast. You do not need fancy tools, and you can make them as neat or as messy as your day allows. If you want to go deeper into the tradition, I enjoyed reading about Jelly Cakes – Apple Cake Annie, and it made me crave another batch immediately. And if you are in a lamington mood too, these links are a fun rabbit hole: Pink Lamingtons (Pasti mir-Roża) – Apron & Whisk, 13. Lovely Lamingtons – Australia – Lord Lamington’s Finest, and Weekend Baking. Iconically Australian. Chocolate Lamington and …. Make a batch, pop the kettle on, and enjoy that sticky coconut on your fingertips like you are a kid again. Let me know if you try them, and do not be surprised if they become your go to party treat. 
Jelly Cakes
Ingredients
For the Cakes
- 1 sponge cake homemade sponge slab or store-bought sponge cakes Can also use plain vanilla cupcakes cut into shapes.
- 1 packet pink jelly crystals (raspberry or strawberry) The classic flavors for this recipe.
- 1 cup boiling water To dissolve the jelly.
- 1 cup cold water To cool down the jelly mixture.
- 2 cups desiccated coconut Ensure there is plenty for rolling.
Optional Additions
- 1 squeeze lemon juice For added brightness in the jelly dip.
- 1 drop pink food coloring If the jelly is pale and you want a stronger color.
Instructions
Preparation
- Bake the sponge (or prep your store bought sponge). Let it cool completely, then cut into even squares or rectangles.
- Dry the sponge slightly by leaving the cut pieces uncovered for 1 to 2 hours, or place them in the fridge for a while.
Making the Jelly Dip
- Dissolve raspberry or strawberry jelly crystals in boiling water, then add cold water. Let it cool until it is no longer hot, but still liquid.
Coating the Cakes
- Use two forks to dip each sponge piece into the jelly. Turn it to coat all sides, letting excess drip off for a few seconds.
- Drop the jelly coated cake into a bowl of desiccated coconut and gently cover all sides.
- Place on a rack or tray lined with baking paper and let them set at room temperature, then chill if a firmer finish is desired.