
Knock You Naked Red Velvet Cheesecake is what I make when I need a dessert that feels like a guaranteed win. You know those days when you volunteered to bring something sweet, and now you are staring into the fridge like it is going to hand you a plan? Yep. This is the kind of recipe that looks fancy, tastes rich, and still feels doable in a normal home kitchen. It is creamy, chocolatey, and has that signature red velvet vibe that makes everyone hover near the dessert table. Let me walk you through it like we are baking side by side.
What is Red Velvet Cheesecake?
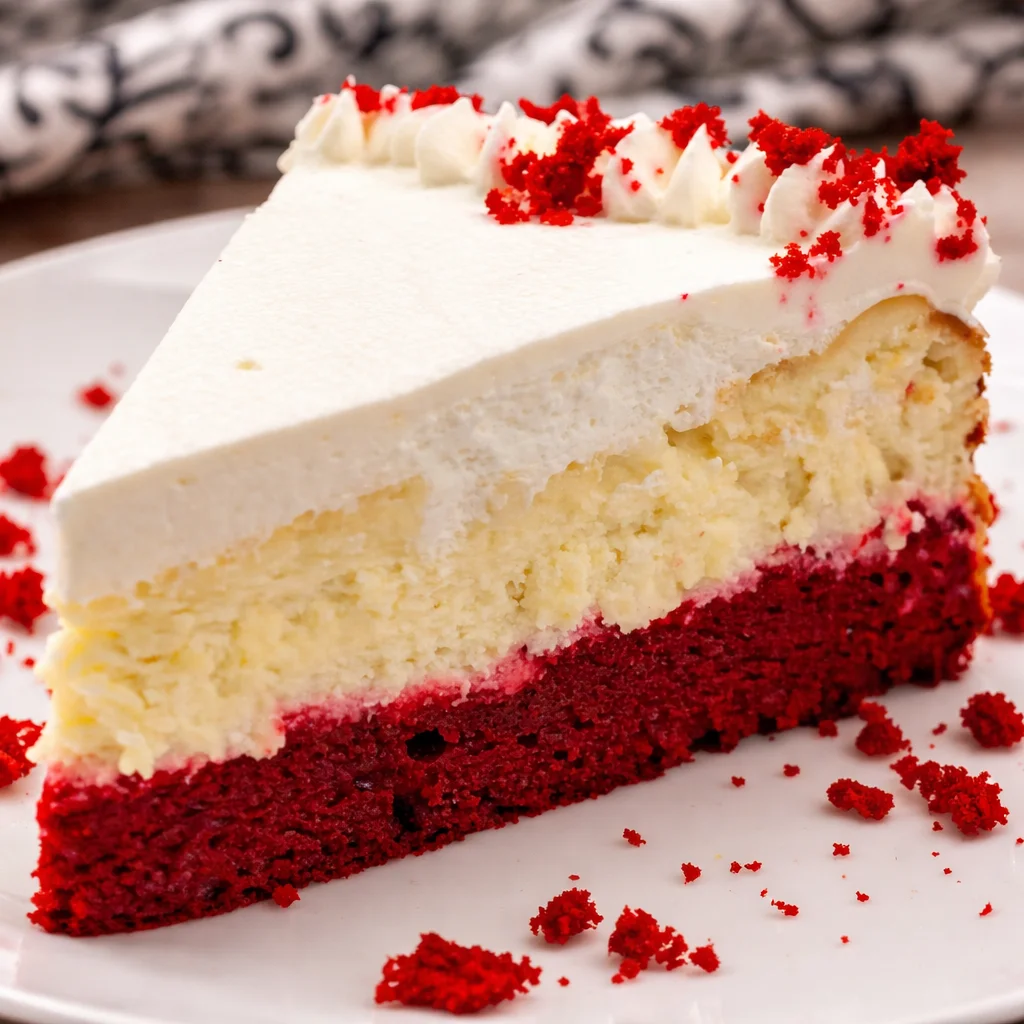
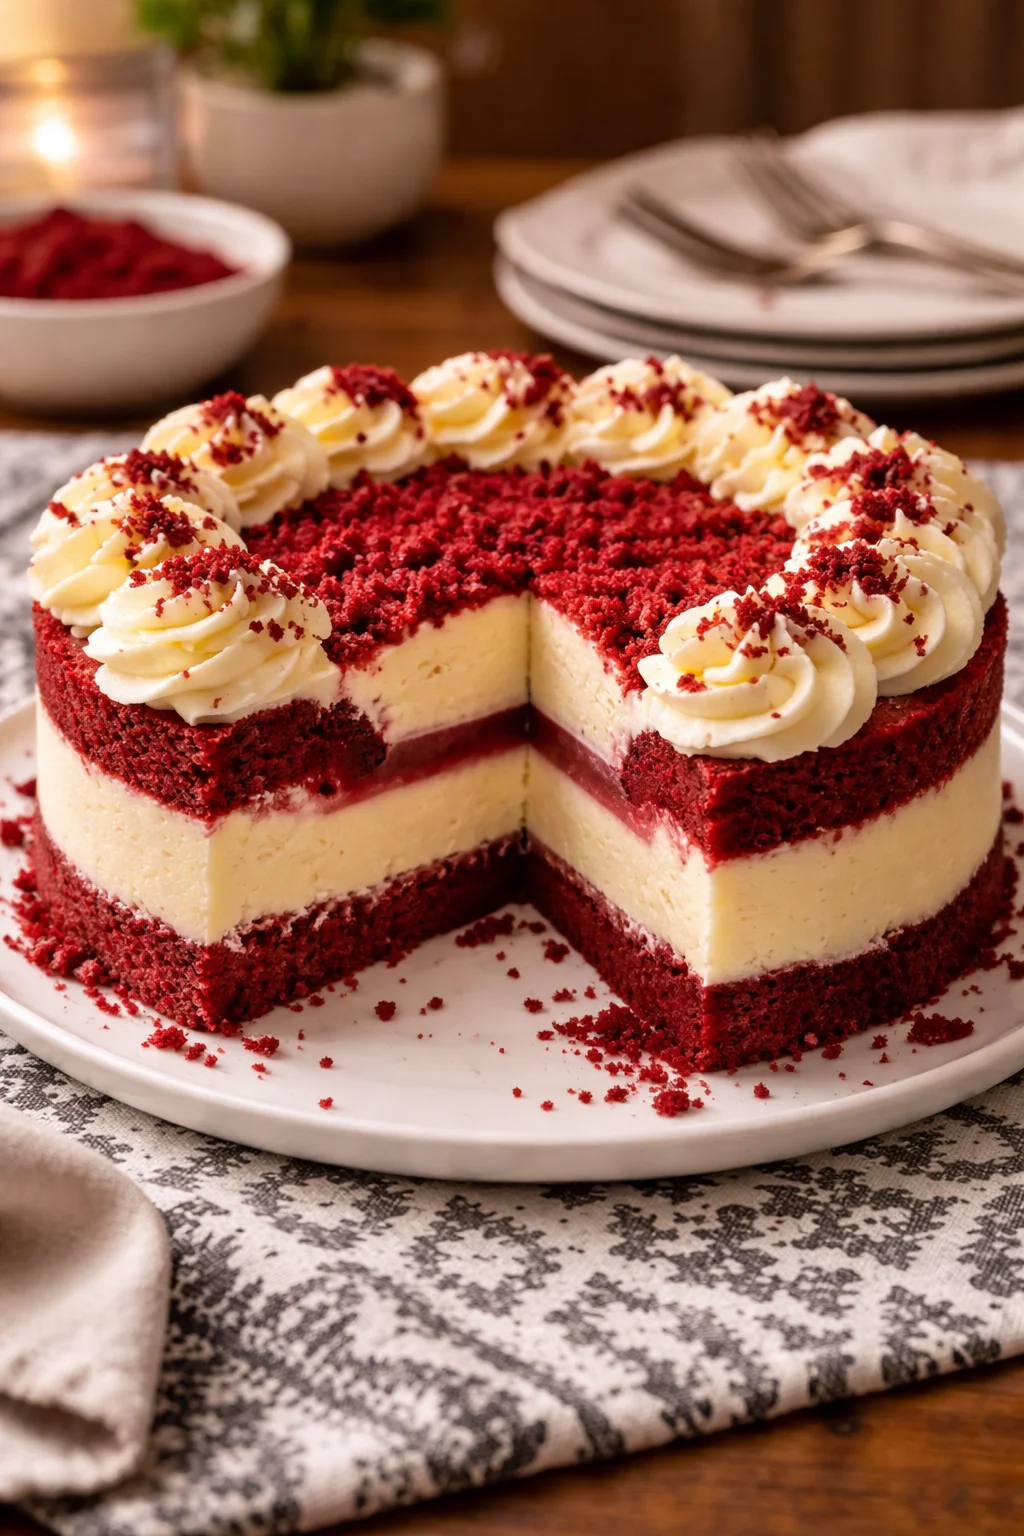
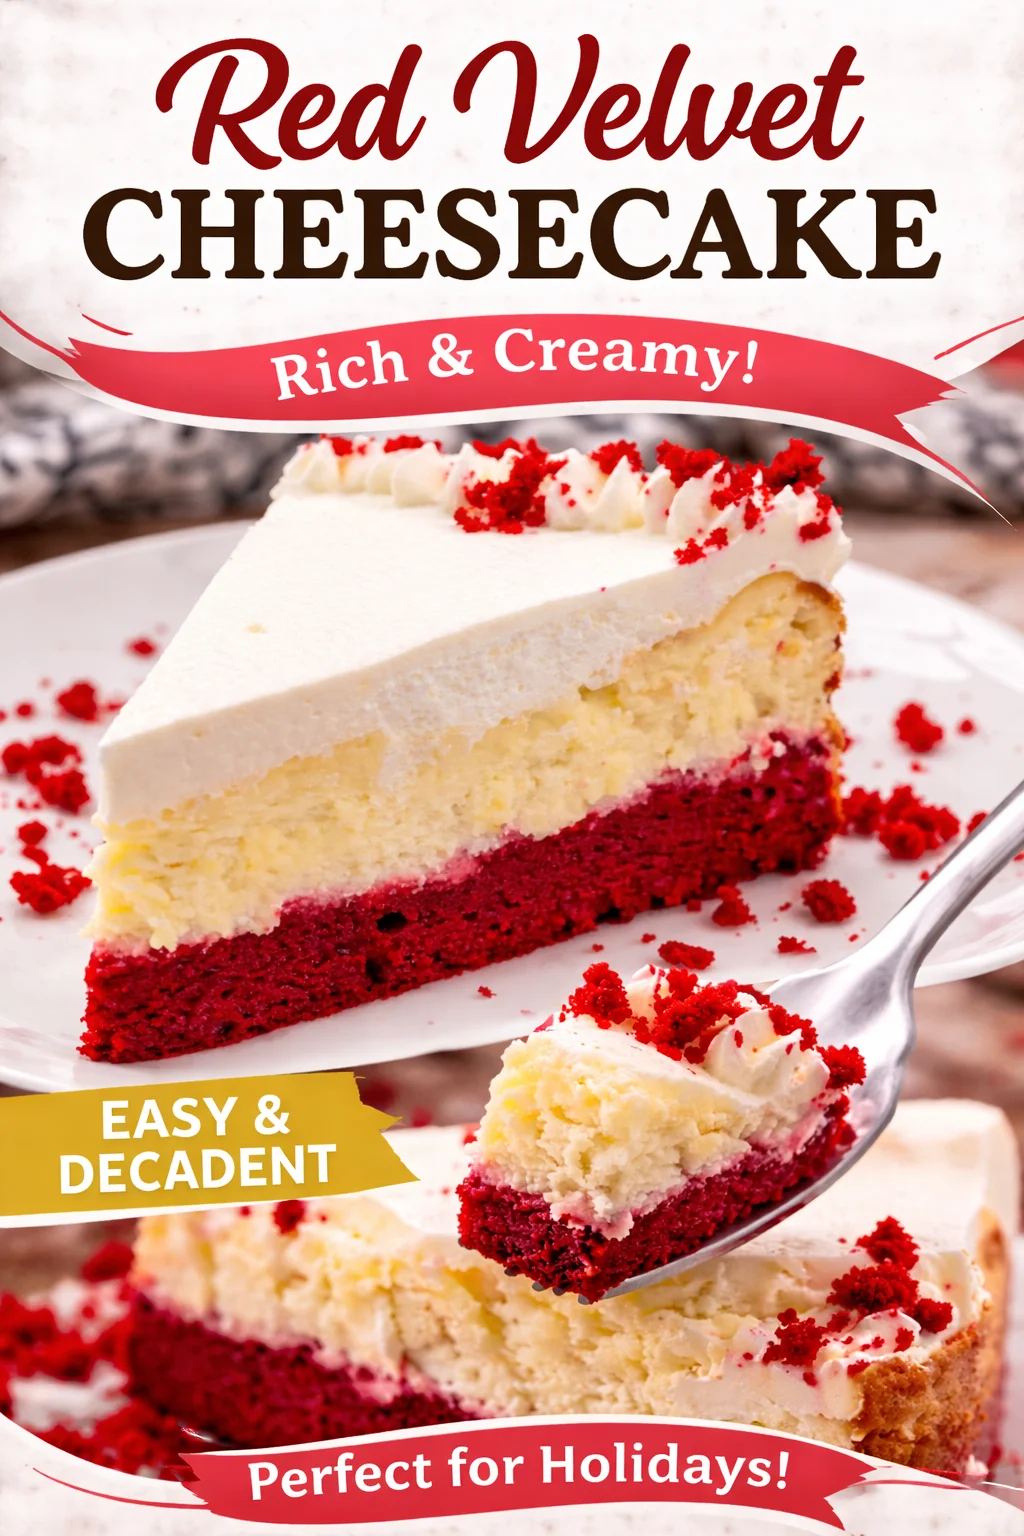
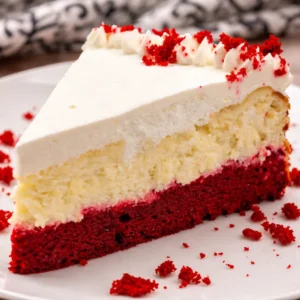
Red velvet cheesecake is basically the best of two dessert worlds. You get the soft cocoa flavor and bright color of red velvet, plus the tangy, creamy richness of cheesecake. The texture is smooth and dense but not heavy in a bad way, and it has that slightly chocolate taste that makes you go back for just one more bite.
In this version, I lean into the whole “knock you naked” idea by adding a gooey layer that feels like a little surprise in the middle. Think of it as a cheesecake that knows how to be dramatic, in the best possible way. Knock You Naked Red Velvet Cheesecake is the dessert I bring out when I want people to actually remember what I made, not just politely say “oh wow, nice.”
And if you love desserts with that rich, cozy energy, you should also peek at these best chocolate dessert recipes you cant resist. I keep that list bookmarked for emergency cravings.
Ingredients You Will Need
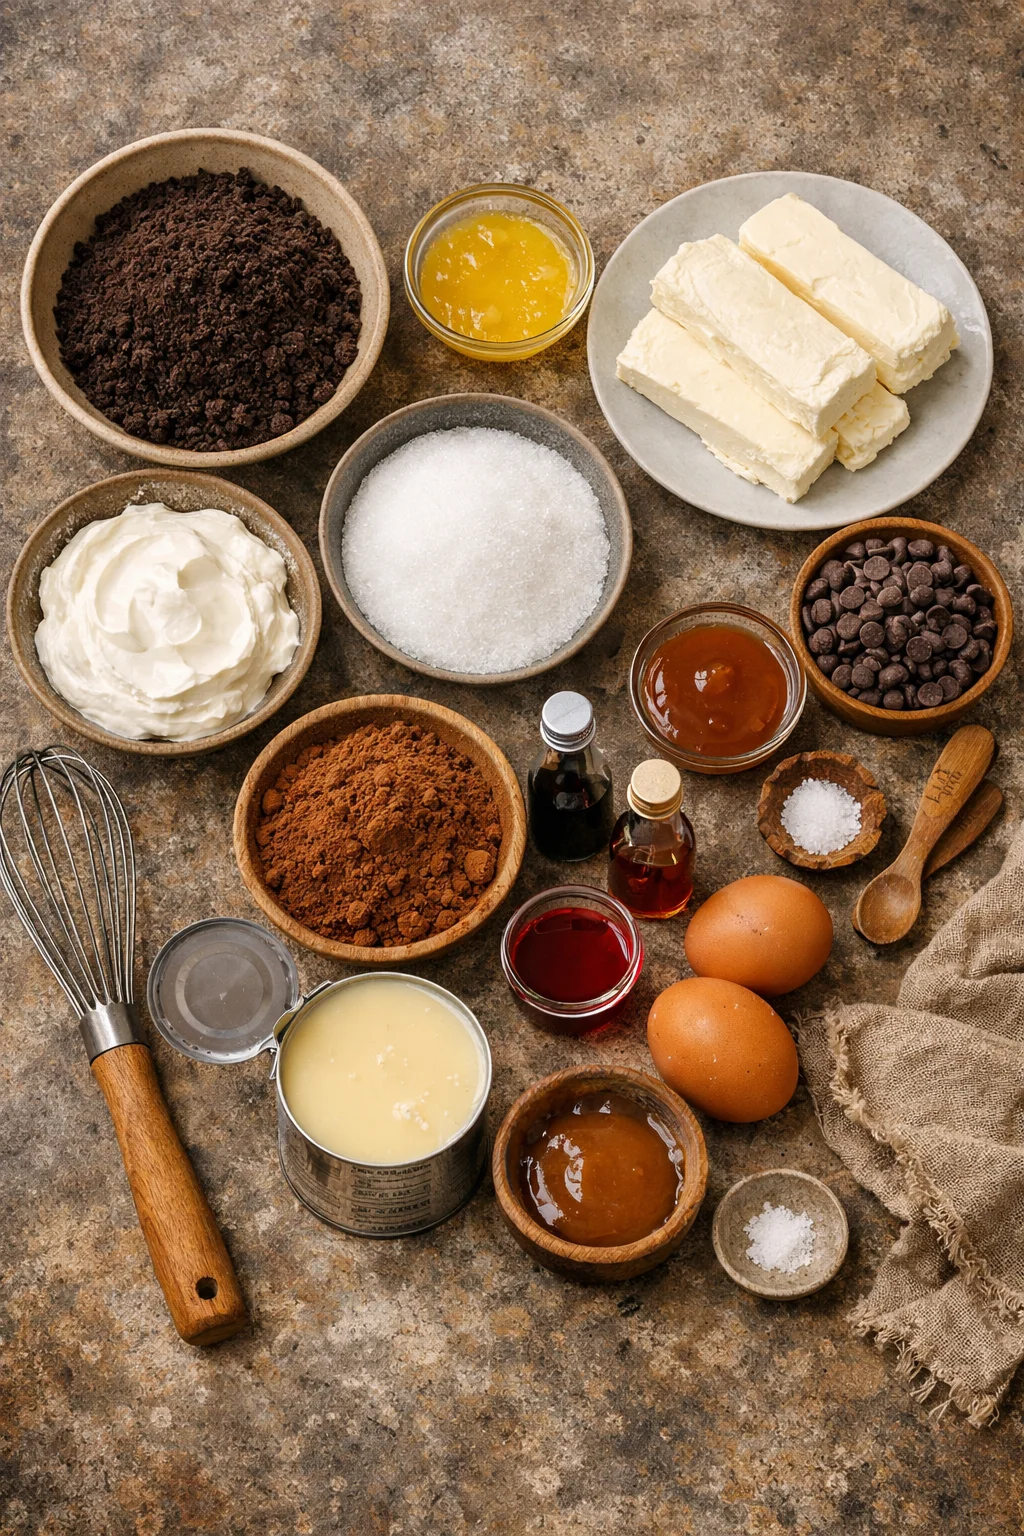
Nothing here is too weird or hard to find, which is part of why I love it. I am going to list what you need, then I will give you a few quick swaps that have saved me when I was missing something.
Shopping list for the crust, filling, and that gooey middle
- Chocolate cookie crumbs (like chocolate sandwich cookies, crushed)
- Melted butter
- Cream cheese, softened (full fat works best)
- Granulated sugar
- Sour cream (for that tangy, creamy texture)
- Cocoa powder (a little goes a long way)
- Red food coloring (gel is great, liquid works too)
- Vanilla extract
- Eggs
- Chocolate chips or chopped chocolate
- Sweetened condensed milk (for the gooey layer)
- Caramel sauce (store bought is totally fine)
- Pinch of salt
Quick notes from my kitchen: If you do not have sour cream, plain Greek yogurt works in a pinch. If you are not into strong food coloring, use a bit less and let it be a deeper burgundy. It still tastes the same, and nobody complains while chewing.
Also, if you are the kind of person who collects cheesecake recipes like I do, you might like this classic vibe too: decadent New York cheesecake recipe youll love to make. Totally different mood, still a keeper.
How To Make Red Velvet Cheesecake
Let us keep this simple and realistic. Plan on a little time, but most of it is hands off baking and chilling. The hardest part is waiting, honestly.
Step by step, the way I actually do it
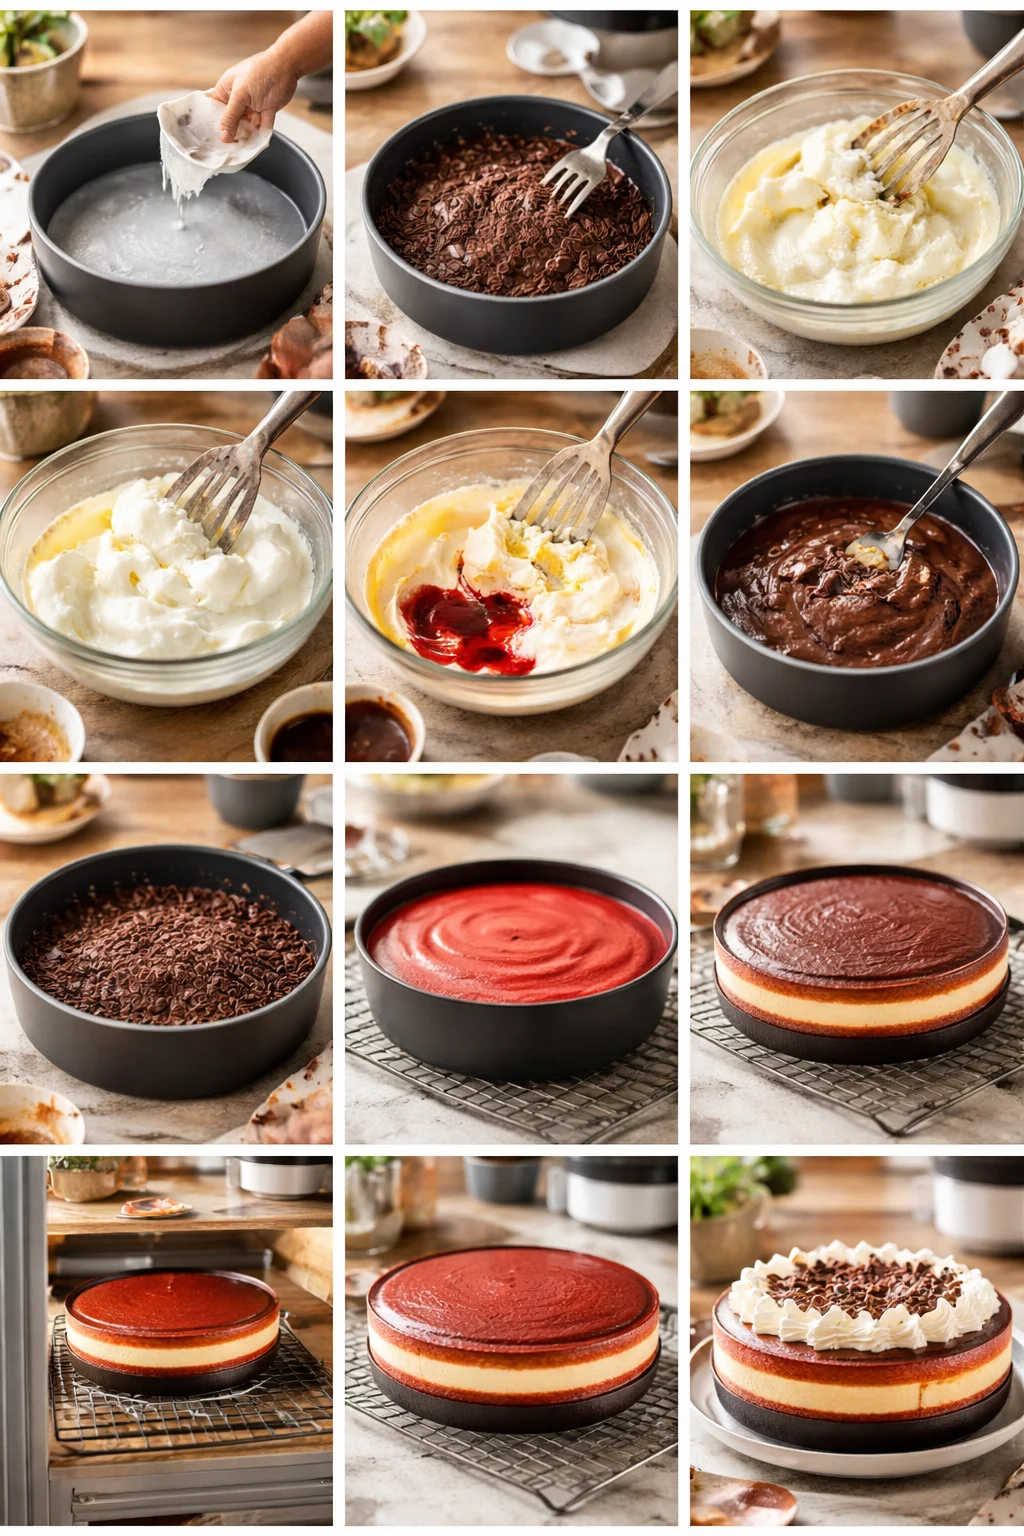
1. Prep the pan. Heat your oven to 325 F. Line the bottom of a springform pan with parchment paper, then lightly grease the sides. This makes your life easier later, trust me.
2. Make the crust. Mix chocolate cookie crumbs with melted butter until it looks like wet sand. Press it into the bottom of the pan and slightly up the sides. Bake for about 8 to 10 minutes, then let it cool while you mix the filling.
3. Mix the cheesecake filling. Beat the softened cream cheese with sugar until smooth. Add sour cream, cocoa powder, vanilla, and a pinch of salt. Add red food coloring until you like the shade. Then add eggs one at a time, mixing just until combined. Do not overmix here, you want creamy not airy.
4. Add the “knock you naked” layer. Warm the sweetened condensed milk with chocolate chips (microwave in short bursts or low heat on the stove) until smooth. Stir in a few spoonfuls of caramel sauce. This is your gooey magic. Pour half the red velvet batter into the crust, spoon the chocolate caramel mixture over it, then gently pour the remaining batter on top. I do it slowly so the middle stays in the middle.
5. Bake with a little protection. Place the springform pan on a baking sheet. Bake around 55 to 70 minutes. The edges should look set, and the center should still have a slight jiggle. Turn off the oven, crack the door, and let it sit for 30 minutes. This helps prevent cracks.
6. Chill like you mean it. Cool on the counter, then refrigerate for at least 6 hours, overnight is better. That chill time is where the texture becomes that real cheesecake slice you can brag about.
“I brought this to a family dinner and my brother literally hid a slice in the fridge behind the leftovers. That is how good it was.”
When you finally slice it, wipe your knife between cuts for those clean bakery looking slices. And if you are in the mood for another cozy cheesecake twist later, this one is fun too: decadent hot chocolate cheesecake you cant resist.
Tips & Tricks
This is where I save you from the stuff that can go sideways. I have made this enough times to know exactly what trips people up.
Use room temp cream cheese. If it is cold, you will fight lumps. I leave mine out for about an hour. If you forgot, unwrap it and microwave for 8 seconds at a time until it feels soft but not melted.
Do not overmix after the eggs. Overmixing adds too much air, and that can lead to cracks or a weird puffed texture.
Color is personal. Some people want bright red, others want a darker red velvet look. There is no “correct” shade, so do what makes you happy.
Caramel control. If you want a stronger caramel hit, add a bit more caramel sauce to the gooey layer. If you want it more chocolate forward, reduce caramel and add more chocolate chips.
Chilling is not optional. I know it is tempting to rush, but Knock You Naked Red Velvet Cheesecake gets better as it sets. Warm cheesecake can taste fine, but it will not slice well and the center will not have that perfect creamy bite.
How To Store Red Velvet Cheesecake
Good news, this stores beautifully, which makes it great for parties and holidays.
In the fridge: Keep it covered in the fridge for up to 5 days. I usually store slices in a container, and I place a small piece of parchment between slices if I am stacking them.
In the freezer: You can freeze it for up to 2 months. Freeze slices on a tray until firm, then wrap each slice in plastic wrap and place in a freezer bag. Thaw overnight in the fridge. The texture stays surprisingly creamy.
For serving: If you want the cleanest slices, pull it out for about 10 minutes before cutting, but do not let it sit out too long. Cheesecake is happiest when it is chilled.
Common Questions
Can I make this without a springform pan?
A springform pan is easiest, but you can use a deep pie dish or a cake pan lined with parchment. Just know it will be harder to lift out and slice neatly.
How do I know when it is done baking?
The edges should be set, and the center should jiggle a little when you gently shake the pan. It will firm up as it cools and chills.
What if my cheesecake cracks?
It is fine. Cover it with whipped cream, extra caramel drizzle, or chocolate shavings. Nobody cares once they taste it.
Can I make it ahead for a party?
Yes, please do. It is actually better the next day. I make it the night before, chill overnight, then garnish right before serving.
Do I have to use food coloring?
Nope. The flavor is still great without it. It will look more like a chocolate cheesecake with a red velvet hint, and that is totally allowed.
A Sweet Little Final Push to Bake This
If you have been wanting a dessert that feels fun, bold, and totally worth the chill time, Knock You Naked Red Velvet Cheesecake is it. You get the chocolate cookie crust, the creamy red velvet filling, and that gooey center that makes people stop mid bite. If you want to compare versions or get extra inspiration, check out Knock You Naked Red Velvet Cheesecake! – My Incredible Recipes and Red Velvet Cheesecake | kitchenfunwithmy3sons.com. And if you are into the whole knock you naked dessert vibe in general, this one is a fun read too: Knock You Naked Brownies Recipe – The Pioneer Woman. Now promise me you will let it chill properly, then come back and tell me if your first bite did not make you grin.
Red Velvet Cheesecake
Ingredients
For the crust
- 2 cups chocolate cookie crumbs (like chocolate sandwich cookies, crushed)
- 1/2 cup melted butter
For the filling
- 24 oz cream cheese, softened (full fat works best)
- 1 cup granulated sugar
- 1 cup sour cream (for tangy, creamy texture)
- 1/4 cup cocoa powder (a little goes a long way)
- 1 tbsp red food coloring (gel is great, liquid works too)
- 1 tsp vanilla extract
- 3 large eggs Add one at a time
- 1 can sweetened condensed milk (for the gooey layer)
- 1/2 cup chocolate chips or chopped chocolate
- 1/4 cup caramel sauce (store bought is fine)
- 1 pinch salt
Instructions
Preparation
- Preheat your oven to 325°F. Line the bottom of a springform pan with parchment paper, then lightly grease the sides.
- Mix chocolate cookie crumbs with melted butter until it looks like wet sand. Press it into the bottom of the pan and slightly up the sides. Bake for about 8 to 10 minutes, then let it cool while you mix the filling.
Making the Filling
- Beat the softened cream cheese with sugar until smooth. Add sour cream, cocoa powder, vanilla, and a pinch of salt.
- Add red food coloring until you like the shade. Then add eggs one at a time, mixing just until combined. Do not overmix.
Adding the Gooey Layer
- Warm the sweetened condensed milk with chocolate chips until smooth. Stir in a few spoonfuls of caramel sauce.
- Pour half the red velvet batter into the crust, spoon the chocolate caramel mixture over it, then gently pour the remaining batter on top.
Baking
- Place the springform pan on a baking sheet. Bake around 55 to 70 minutes. The edges should look set, and the center should still have a slight jiggle.
- Turn off the oven, crack the door, and let it sit for 30 minutes.
Chilling
- Cool on the counter, then refrigerate for at least 6 hours, ideally overnight.
Serving
- Wipe your knife between cuts for clean slices.