
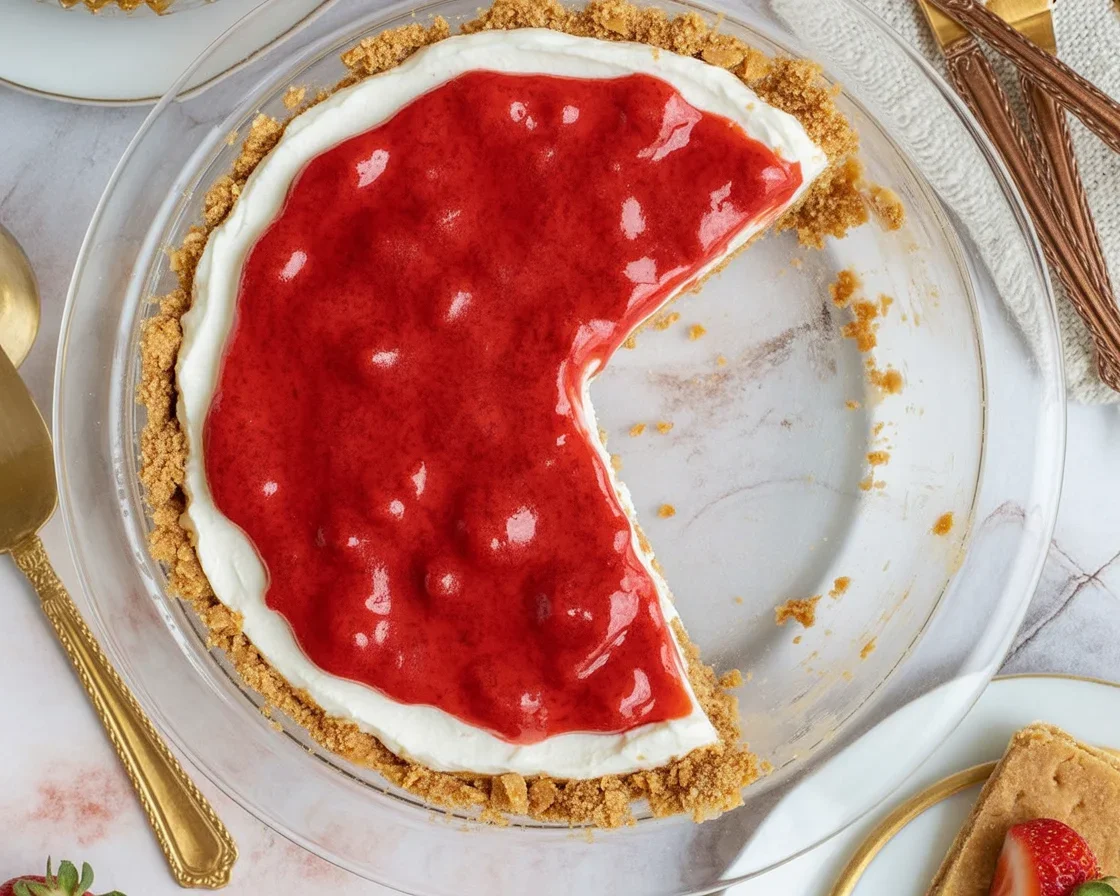
No-Bake PB&J Cheesecake Squares saved me on one of those hot afternoons when turning on the oven felt like a terrible idea. I wanted something nostalgic that still looked impressive and tasted like a bakery treat. These bars hit every note, from the buttery crust to the creamy peanut butter filling and the shiny swirl of jelly on top. They set in the fridge while you do your thing, then slice up like a dream. Honestly, they taste like a grown-up version of the lunchbox classic, only cooler and creamier. 
What are no-bake PB&J cheesecake bars made of?
Let’s get cozy with the building blocks. Think of these as layered joy. A sturdy crumb crust. A fluffy peanut butter cheesecake layer that feels like a hug. A jammy topper that brings a pop of sweetness and a little sparkle. That is the core of it.
Ingredients you’ll need
- Crust: Graham crackers or digestive biscuits, a pinch of salt, melted butter. Use vegan butter if you want to keep things dairy free.
- Cheesecake layer: Cream cheese, creamy peanut butter, powdered sugar, a splash of vanilla, and whipped cream or coconut whip for lift. For vegan, go with dairy-free cream cheese and coconut whip.
- Jelly topping: Grape jam or strawberry preserves are classic. Raspberry is amazing too. If your jam is super thick, loosen it with a teaspoon of warm water so it spreads smoothly.
- Optional extras: Crushed peanuts for texture, a sprinkle of flaky salt, or a drizzle of melted peanut butter on top.
Easy swaps and tips
Use crunchy peanut butter if you want some bite in the filling. No graham crackers on hand? Vanilla cookies, Biscoff, or even chocolate wafer crumbs will work. If you’re sensitive to sweetness, pick a low sugar jam and go easy on the powdered sugar in the filling. A little lemon juice in the filling brightens the flavor more than you might expect, just a teaspoon is enough.
If you want another fun dessert with that cinnamon-sugar bakery vibe, peek at this churro cheesecake for weekend dessert inspiration.
How to make no-bake peanut butter and jelly cheesecake bars
Good news: there’s no oven involved. A pan, a bowl, a whisk or hand mixer, and a little fridge time are all you need. Here is the simple game plan.
Step-by-step
- Prep the pan: Line an 8 inch square pan with parchment so the edges hang over. This makes it easy to lift the bars out later.
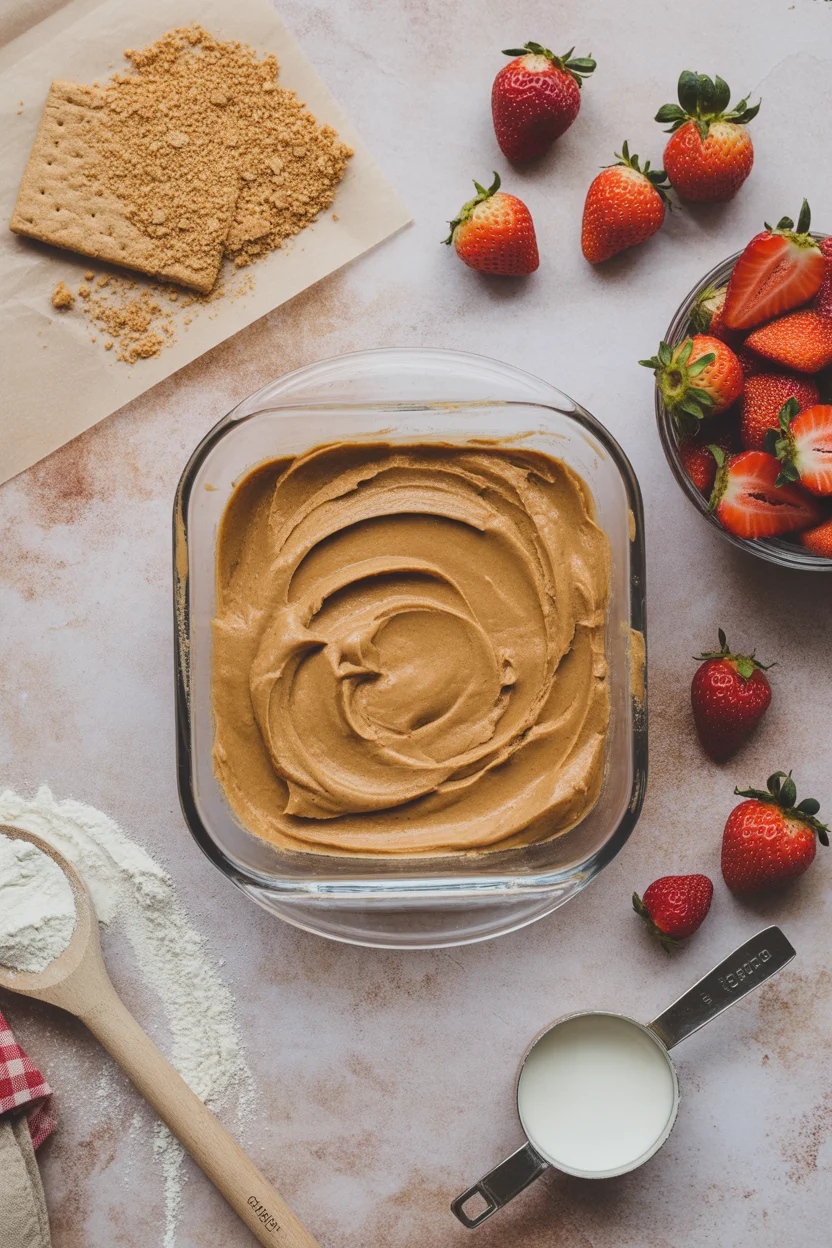
- Make the crust: Pulse crackers to fine crumbs, then stir in melted butter and a pinch of salt. Press the mixture firmly into the pan. Use the bottom of a measuring cup to compact it so it cuts cleanly.
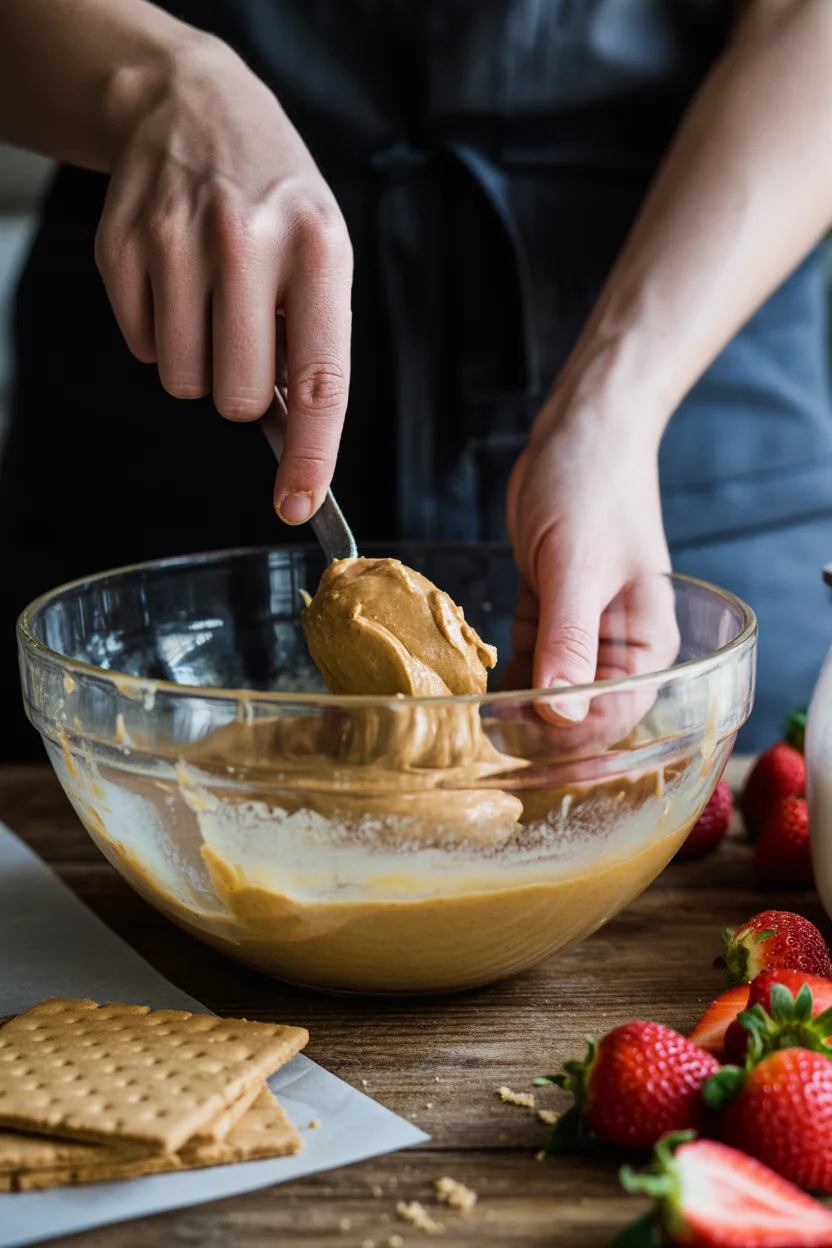
- Whip the filling: Beat cream cheese until smooth. Add peanut butter, powdered sugar, vanilla, and a tiny pinch of salt. Fold in whipped cream until silky.
- Spread and swirl: Pour the peanut butter filling over the crust and smooth the top. Gently spoon small dots of jam all over, then swirl with a toothpick or butter knife. Pretty swirls are optional but very satisfying.
- Chill: Cover and refrigerate 4 to 6 hours, or overnight for very neat slices. Freeze for 20 to 30 minutes before slicing if you want super sharp edges.
- Finish: Top with crushed peanuts or a light sprinkle of flaky salt right before serving.
Pro tips for success
Use room temperature cream cheese so your filling blends creamy rather than chunky. If your peanut butter is too stiff, warm it in the microwave for 10 seconds so it mixes easily. Your crust should feel like damp sand, not soaking wet, and it should hold together when pressed. If it crumbles, add a teaspoon or two more melted butter.
“I made these on a Tuesday night and my kids thought I picked them up from a bakery. The texture was unreal and the jelly swirl looked fancy without any effort.” — Jess, busy mom and peanut butter fan
If you love bright citrusy desserts, these no-bake white chocolate lemon cardamom slices are a fresh, elegant follow-up for your next potluck.
How to store vegan pb and j cheesecake bars
These bars keep beautifully, which makes them perfect for make-ahead entertaining or quiet snacking. For a vegan version, the storage method is the same, just use plant-based cream cheese and coconut whip in the filling.
Fridge and freezer directions
In the fridge: Store the sliced bars in an airtight container with parchment between layers. They’ll stay fresh for 4 to 5 days. If your fridge tends to be humid, place a paper towel in the container to absorb extra moisture, then swap it out after day two.
In the freezer: Freeze the bars on a sheet pan until solid, then wrap each one in plastic or parchment and place in a freezer bag. They keep well for up to 2 months. Thaw in the fridge for a few hours or on the counter for 20 to 30 minutes. The texture after thawing is still creamy and lovely.
Travel tip: For picnics or potlucks, pack them in a cooler and keep the container flat. Add crushed peanuts only once you arrive so they stay crunchy.
Nutrition
Let’s talk basics. These bars are a treat, but they can be balanced. A small square satisfies without feeling heavy. Using a moderate amount of jam and choosing a natural peanut butter helps keep sweetness in check. If you go with a vegan cream cheese and coconut whip, the texture will be a tad lighter and still very creamy.
General estimate per square, if you cut 16: around 260 to 320 calories, 4 to 6 grams protein, 18 to 22 grams fat, and 18 to 22 grams carbs. Numbers will vary based on the cookies you use for the crust, the type of peanut butter, and how thick that jelly swirl is. Want a lighter version? Try reduced fat cream cheese or add a little plain Greek yogurt to the filling, then keep the jam swirl thin. For vegan, skip the yogurt and lean into coconut whip to keep the texture plush.
For kids or lunchbox treats, cut the bars into smaller squares. They’ll still feel indulgent, just mini. You can also top with fresh berries for a little extra fiber and freshness.
More no-bake cheesecake recipes
Once you’ve got these down, the world of chill-and-slice desserts opens right up. Try chocolate wafer crust with a vanilla cheesecake layer and cherry jam on top. Or swap peanut butter for Biscoff spread if you’re craving extra cookie flavor. I also like a plain vanilla cheesecake base with a blueberry jam swirl and lemon zest. The method stays the same, the flavors are up to you.
For cinnamon lovers, that bakery-style churro cheesecake has a crispy sugar crust and a creamy center. And for something that’s cozy yet bright, the no-bake white chocolate lemon cardamom slices are beautiful on a dessert tray. Keep playing with crusts, fillings, and toppings, and you’ll have a year-round rotation that never gets boring.
Common Questions
Can I use natural peanut butter?
Yes. Stir it well so the oil is fully incorporated. If it’s very runny, refrigerate it for 10 minutes before mixing so the filling sets firm.
What size pan works best?
An 8 inch square pan gives you thick bars. A 9 inch square works too, they’ll just be a bit thinner. Line the pan with parchment for easy lifting.
Which jam is best?
Grape or strawberry are classic. Raspberry is tangy and pretty. If your jam is chunky, warm it a few seconds and give it a light stir so it spreads smoothly.
How long do No-Bake PB&J Cheesecake Squares need to chill?
Give them at least 4 hours to set. Overnight is even better for clean cuts and that chilled, creamy bite.
Can I make these gluten free?
Absolutely. Use gluten free cookies for the crust and check your jam label. The rest of the ingredients are naturally gluten free.
A sweet little sendoff
There’s something joyful about a pan of No-Bake PB&J Cheesecake Squares waiting in the fridge. They’re nostalgic, easy to make, and totally shareable. Once you try them, you’ll see how flexible the method is and how simple it is to make them your own. If you want more inspiration, compare methods with this helpful guide from No-bake PB&J cheesecake squares recipe | Good Food or check out the flavor twists in No-Bake Peanut Butter & Jelly Cheesecake Bars – Purely Kaylie. Grab a spoon, swirl that jelly, and treat yourself to a creamy square or two. 
No-Bake PB&J Cheesecake Bars
Ingredients
Crust Ingredients
- 1 cup Graham cracker or digestive biscuit crumbs
- 1/4 teaspoon salt
- 1/2 cup melted butter Use vegan butter for dairy-free option.
Cheesecake Layer Ingredients
- 8 ounces cream cheese Use dairy-free cream cheese for vegan option.
- 1/2 cup creamy peanut butter
- 1/4 cup powdered sugar Reduce for less sweetness.
- 1 teaspoon vanilla extract
- 1 cup whipped cream or coconut whip For vegan option, use coconut whip.
Jelly Topping Ingredients
- 1 cup grape jam or strawberry preserves Raspberry is also great. Thin it with warm water if too thick.
Optional Extras
- 1/4 cup crushed peanuts For topping.
- Flaky salt For garnish.
- 1 tablespoon melted peanut butter For drizzle on top.
Instructions
Preparation
- Line an 8 inch square pan with parchment paper allowing edges to hang over.
- Pulse the graham crackers into fine crumbs and mix with melted butter and a pinch of salt. Press firmly into the bottom of the pan.
Making the Filling
- Beat cream cheese until smooth. Add peanut butter, powdered sugar, vanilla, and a tiny pinch of salt.
- Fold in the whipped cream until the mixture is silky.
Assembly
- Pour the peanut butter filling over the crust and smooth it out.
- Dollop small amounts of jelly on top and swirl with a toothpick or knife.
Chilling
- Cover and refrigerate for 4 to 6 hours or overnight for clean slices.
- For sharper edges, freeze for 20 to 30 minutes before slicing.
Finishing Touch
- Before serving, top with crushed peanuts or a light sprinkle of flaky salt.