
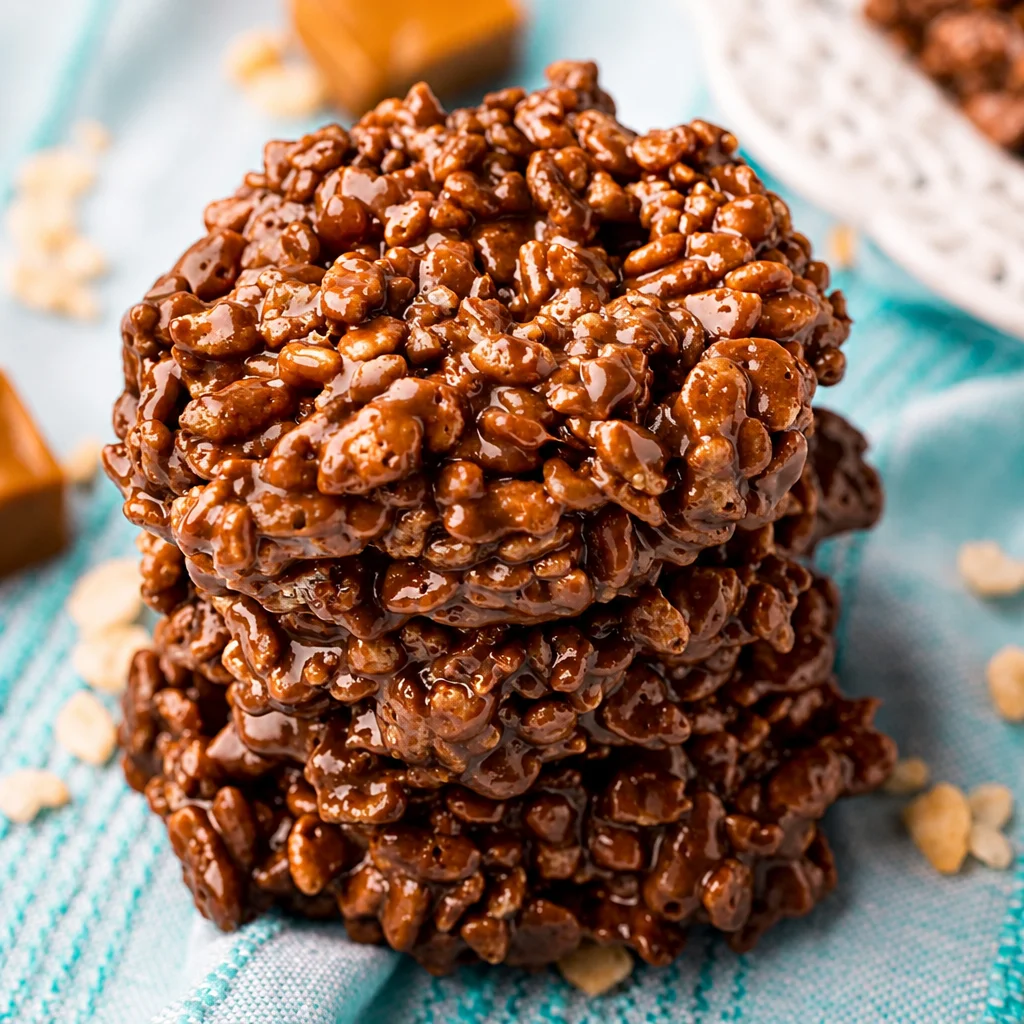
Homemade Star Crunch is one of those treats I crave the second I want something chocolatey, crispy, and just a little nostalgic. You know that feeling when you open the pantry and everything looks boring, but you still want a fun dessert that hits the spot. That is exactly where this recipe comes in. It is simple, no fancy tools, and you can make it in your own kitchen without stressing. If you have ever loved those chewy crunchy chocolate cookies from the store, this is the homemade version you will keep coming back to. 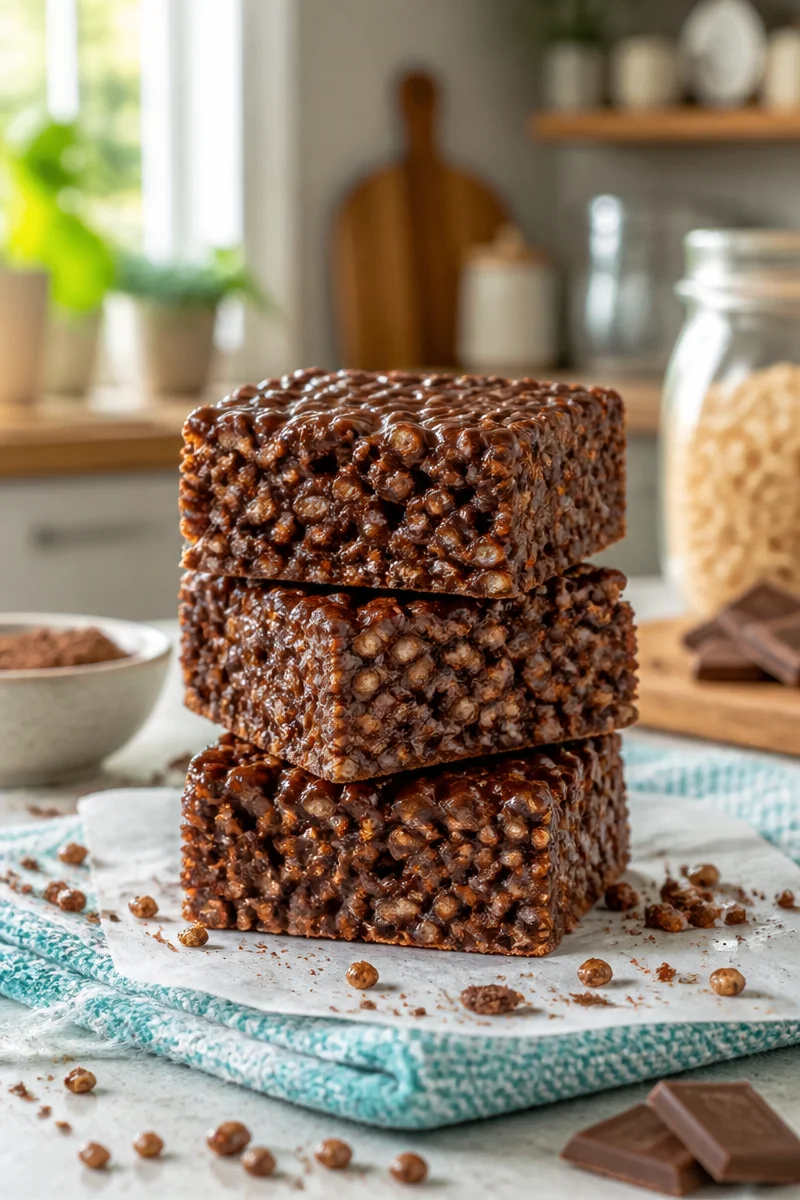
Understanding the Basics of Homemade Star Crunch
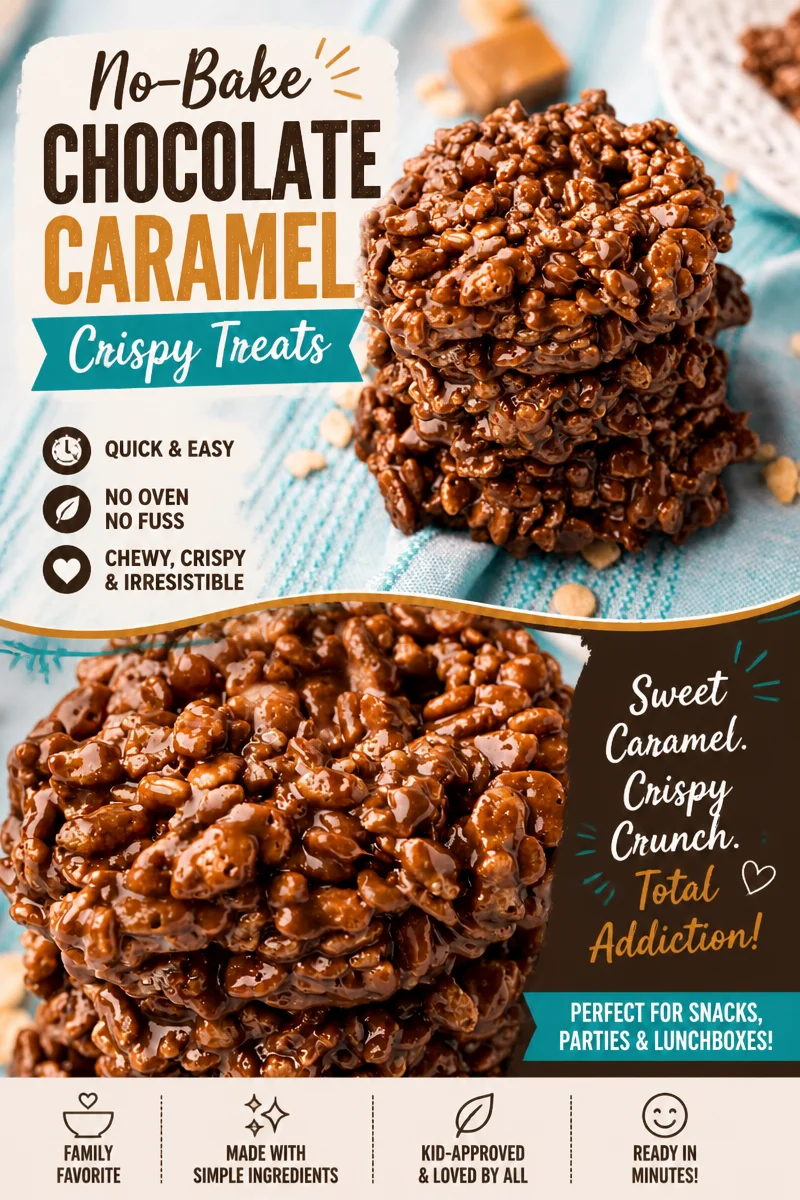
Let us talk about what Homemade Star Crunch actually is, because once you understand the parts, the recipe feels almost impossible to mess up. At its heart, it is a mix of melted chocolate and caramel goodness that coats crispy rice cereal. Then you shape it into cookie sized rounds and let it set until it is chewy and crunchy at the same time.
The texture is the whole point here. You want that snap from the cereal, but also that slightly sticky bite from the caramel. I like to make mine a little thicker than the packaged ones because, honestly, why not.
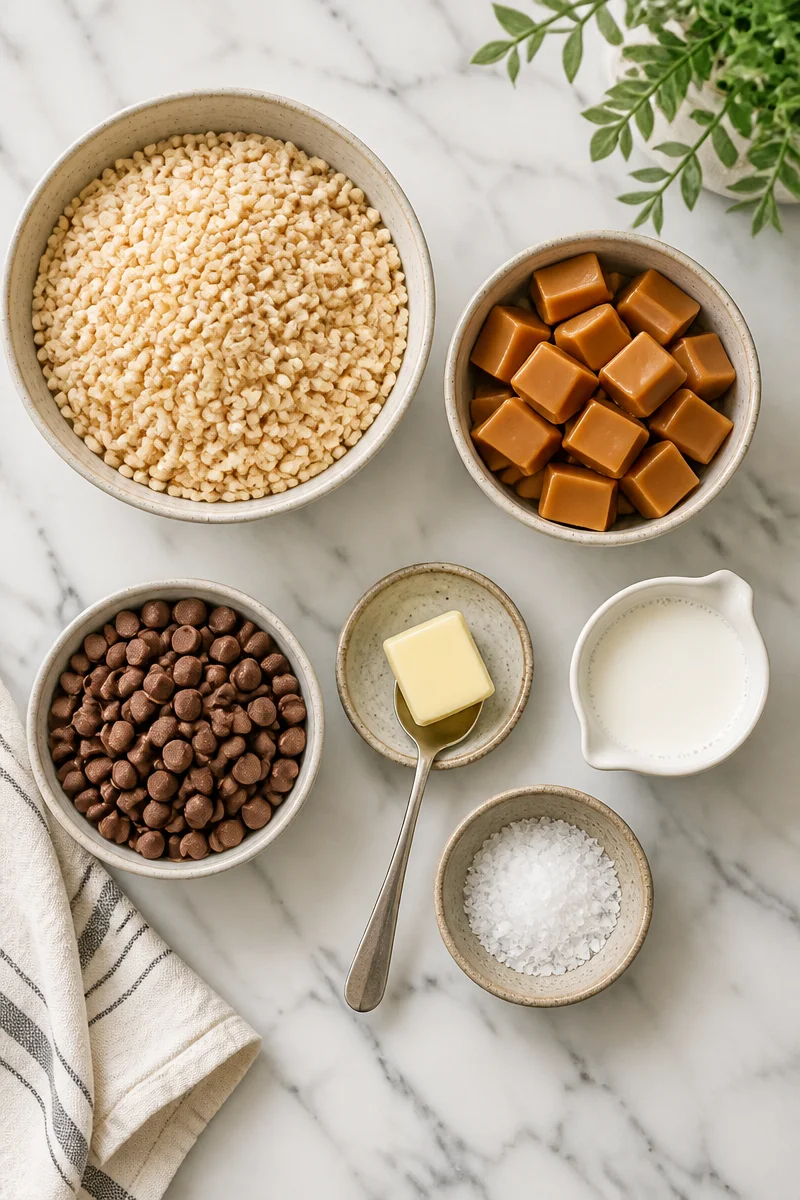
Ingredients you will need
- Crispy rice cereal, plain and crunchy
- Caramel bits or soft caramels (unwrap if needed)
- Milk chocolate chips for that classic flavor
- A spoonful of butter to keep things smooth
- A splash of heavy cream or milk to help melt the caramel
- Pinch of salt (small step, big difference)
Nothing wild, right? If you can melt chocolate without burning it, you can do this. And if you are in a snack making mood, you might also like something bright and easy like this lemon loaf recipe Starbucks copycat for a totally different vibe, especially when you want something citrusy.
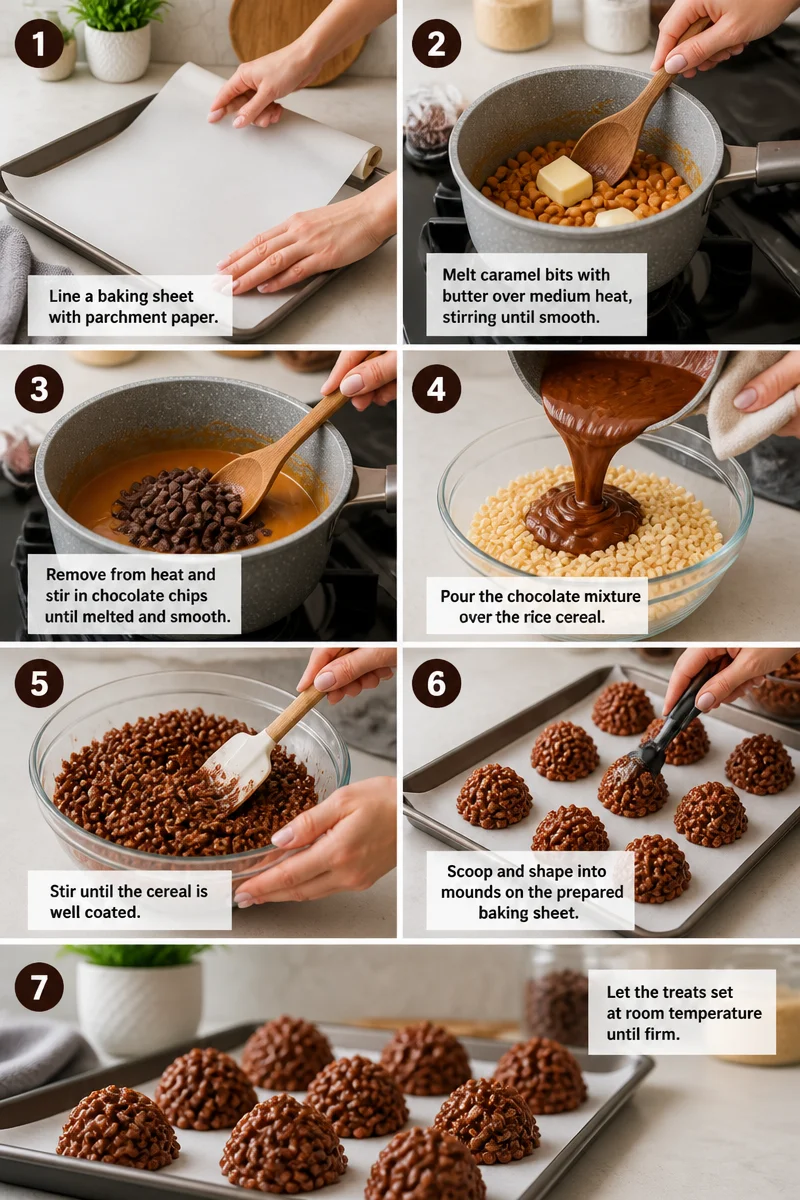
Quick step by step: Melt the caramel with butter and a little cream. Melt the chocolate. Combine both, fold in cereal, scoop into rounds, and let set. That is the whole story.
Common Misconceptions About Homemade Star Crunch
I have heard a few worries from friends when I mention making Homemade Star Crunch, and most of them are based on myths that make it sound harder than it is.
Misconception 1: You need a candy thermometer. Nope. We are not cooking sugar to exact stages. We are melting store bought caramel and chocolate and mixing it with cereal. Keep the heat low and stir often, and you are good.
Misconception 2: It will never taste like the real thing. Honestly, homemade usually tastes better. You get more chocolate flavor, a fresher crunch, and you can make the cookies thicker and softer if you want.
Misconception 3: The cereal will go stale instantly. It will not if you store it right. Airtight container, room temp, and do not leave them uncovered on the counter for hours. That is it.
Misconception 4: It is automatically super messy. It can be, but parchment paper and a cookie scoop keep things clean. I also lightly butter my hands if I need to shape them more.
“I made these for movie night and my kids thought I bought them from the store. The chewy caramel crunch was perfect, and they were gone in one day.”
Practical Applications of Homemade Star Crunch
This is where I get a little excited because Homemade Star Crunch is not just a cookie you make once. It is a go to treat for low effort parties, lunchbox snacks, bake sales, and those evenings when you want dessert but do not want to bake.
How I make them (simple method)
Here is my everyday method, the one I use when I am not trying to impress anyone and just want something that works.
- Line a baking sheet with parchment paper.
- In a saucepan on low heat, melt caramel bits with butter and a splash of cream. Stir constantly until smooth.
- Turn off the heat and stir in chocolate chips until melted. If needed, warm for a few seconds more, but keep it gentle.
- Pour the mixture over crispy rice cereal in a big bowl.
- Fold until everything is coated and glossy.
- Scoop into mounds, then lightly press into rounds.
- Let set for about 45 to 60 minutes at room temp, or chill for 20 minutes if you are impatient like me.
If you want to get a little creative, you can shape them smaller and call them snack bites, or make big ones and turn them into dessert sandwiches with a thin layer of peanut butter inside. Not traditional, but very fun.
These also travel well for potlucks. I wrap them in little squares of wax paper, toss them in a container, and they stay pretty neat. When I am planning a menu, I like to pair rich chocolate snacks with something fruity. This easy homemade peach custard pie is a great option when you want a softer, lighter dessert next to the crunch.
;
Expert Tips for Mastering Homemade Star Crunch
I have made these enough times to learn what matters and what does not. Here are the tips that save batches.
My best troubleshooting tips
Keep the heat low. The fastest way to ruin the flavor is scorching the caramel or chocolate. Low and slow is the move.
Use fresh cereal. If your cereal is even a tiny bit stale, you will taste it. This recipe is simple, so every ingredient shows up.
Do not drown the cereal. You want everything coated, not swimming. If it looks overly wet, add a little more cereal a handful at a time.
Salt is your friend. A pinch makes the chocolate taste richer and keeps the sweetness from feeling heavy.
Let them set fully. They are soft at first. Give them time to firm up so you get that classic chewy crunch bite.
Flavor ideas that still feel true to the original: swap some milk chocolate chips for semi sweet, or stir in a spoonful of peanut butter with the chocolate. Just do not overdo it or you lose the Star Crunch feel.
If you are making a cozy snack spread, I love doing these cookies with a cold drink. This homemade Starbucks iced pumpkin cream chai is surprisingly easy and tastes like a treat on its own.
Additional Resources for Further Learning
If you are the type who likes to compare methods, or you want to try different spins, I totally get it. Sometimes I read a few versions before I settle on what I am making that day. I also like exploring other old school sweets when I am in a nostalgic mood. If you want a fun candy project, this classic homemade orange candy recipe is a really cheerful one, especially when you want something bright and sweet.
Here are a few extra things you can try at home to keep learning and improving:
Try different setting methods. Room temperature gives a chewier cookie, while chilling makes them firmer faster.
Play with thickness. Thin cookies are crispier, thicker ones are chewier.
Practice scooping. A cookie scoop helps you make them uniform, which helps them set evenly.
Common Questions
1) Can I make Homemade Star Crunch without caramel bits?
Yes. Use soft wrapped caramels, just unwrap them first. Add a splash of cream so they melt smoothly.
2) Why did my cookies turn out too hard?
Usually it is from overheating the caramel or letting the mixture cook too long. Next time, melt gently and stop as soon as it is smooth.
3) How do I store them so they stay chewy?
Airtight container at room temperature is best. If your kitchen is hot, you can refrigerate, but let them sit out a few minutes before eating for better texture.
4) Can I freeze them?
Yes. Freeze in a sealed container with parchment between layers. Thaw at room temperature for about 30 minutes.
5) How long do they last?
In my house, not long. But realistically, about 4 to 5 days in an airtight container before the texture starts to change.
A sweet little wrap up before you start
If you have been craving a fun throwback treat, Homemade Star Crunch is honestly one of the easiest ways to get there without turning on the oven. Keep the heat low, use fresh cereal, and do not skip that pinch of salt. If you want to explore other takes and compare techniques, check out Homemade Star Crunch – Tornadough Alli, Homemade Star Crunch Cookies – Design Eat Repeat, Homemade Star Crunch Recipe – Serious Eats, Easiest Copycat Star Crunch Cookies – Gluesticks Blog, and Homemade Star Crunch Recipe (Copycat Little Debbie). Now go grab that bowl and some parchment paper, and make a batch for yourself. You deserve a simple treat that feels like a good day.