
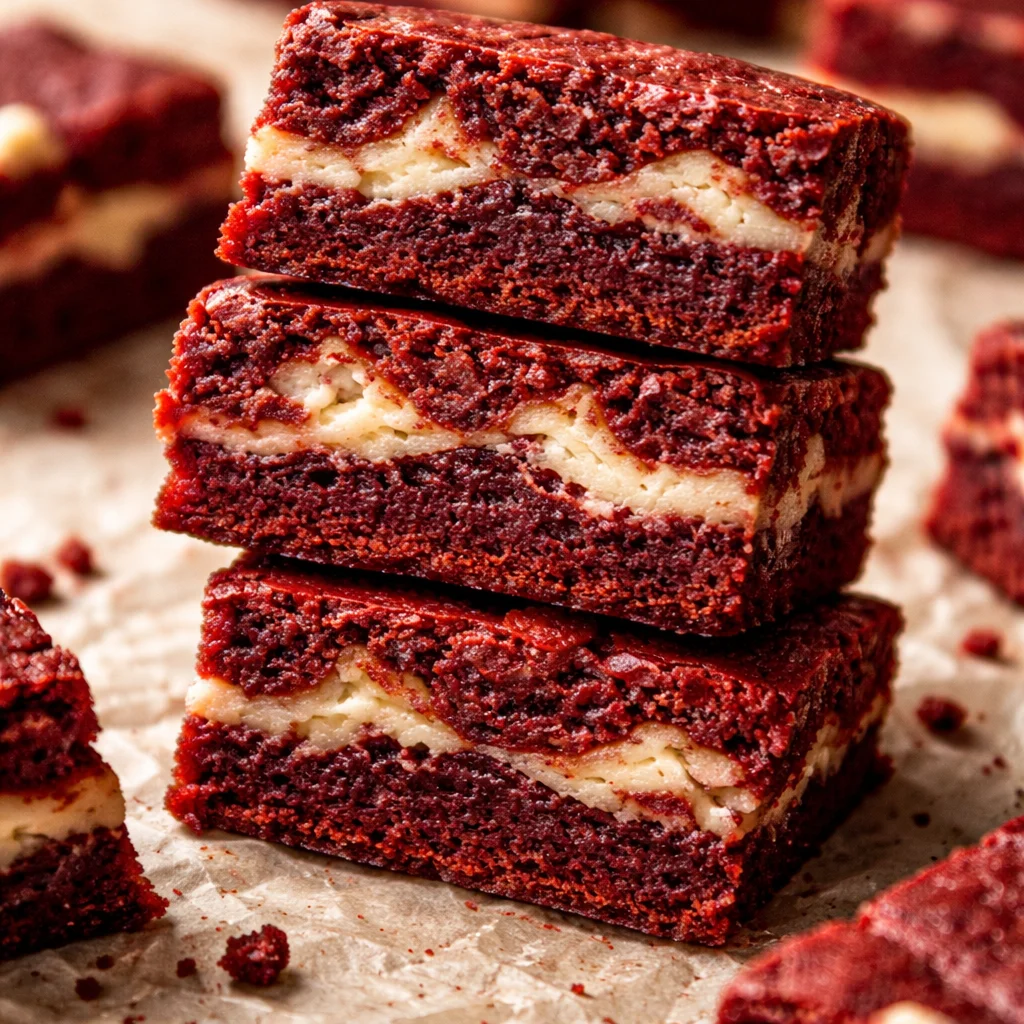
Red Velvet Brownies are my go to dessert when I want something that feels a little fancy but is still totally doable on a regular weeknight. Maybe you have that same problem I do, where you want to bake something cute for people, but you do not want a complicated layer cake situation. These brownies hit the sweet spot because they are rich, chocolatey, and that red velvet color just makes everyone happy. The best part is the decadent cream cheese swirl, which looks impressive even if you are not feeling particularly impressive that day. If you have a box of cocoa powder and a block of cream cheese, you are already halfway there. 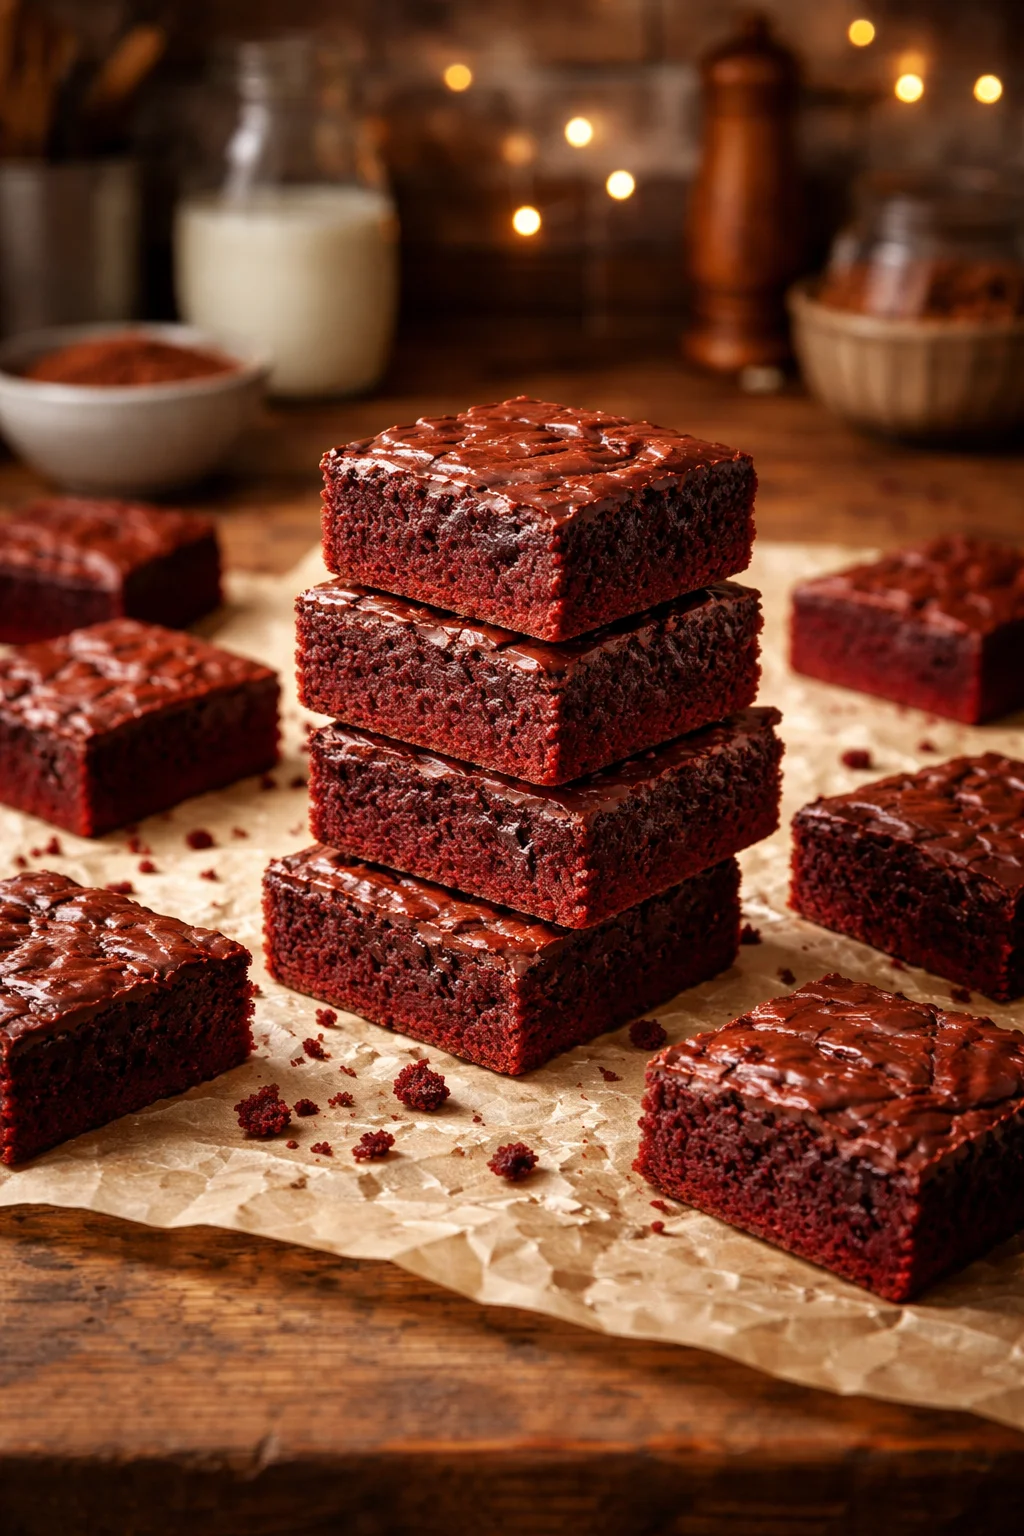
Why You’ll Love This Recipe
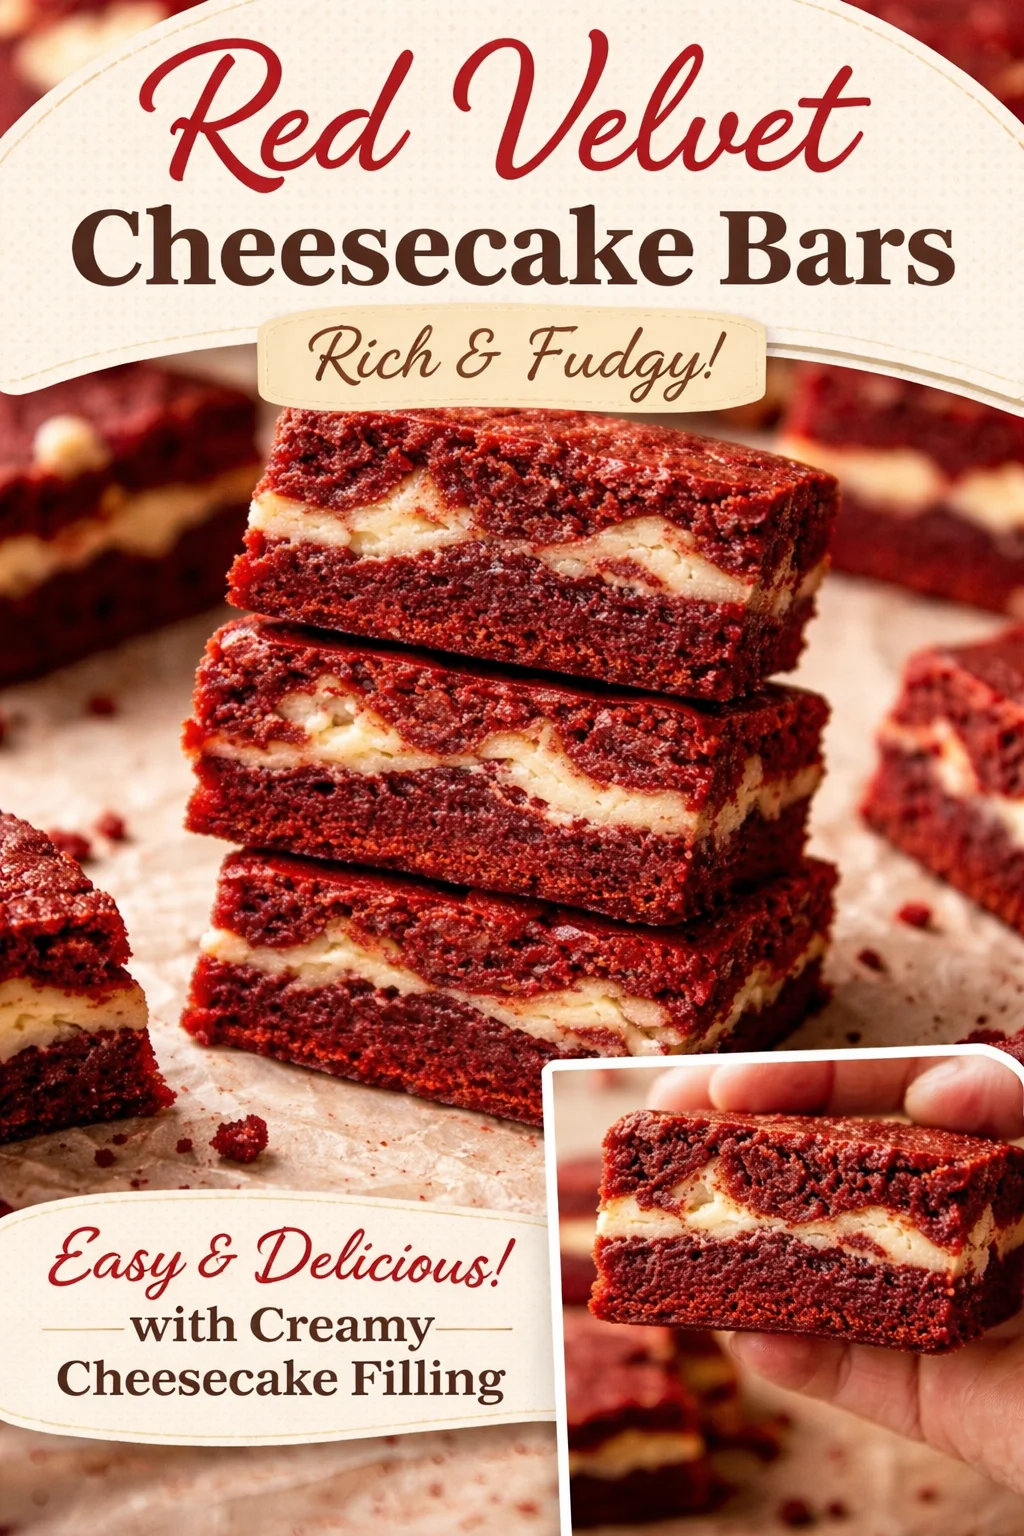
I have baked a lot of brownies in my life, and this is the batch I come back to when I want that wow moment without extra stress. They are fudgy, bright red, and the swirl makes them look like you bought them from a bakery.
Here is why I think you will genuinely love these:
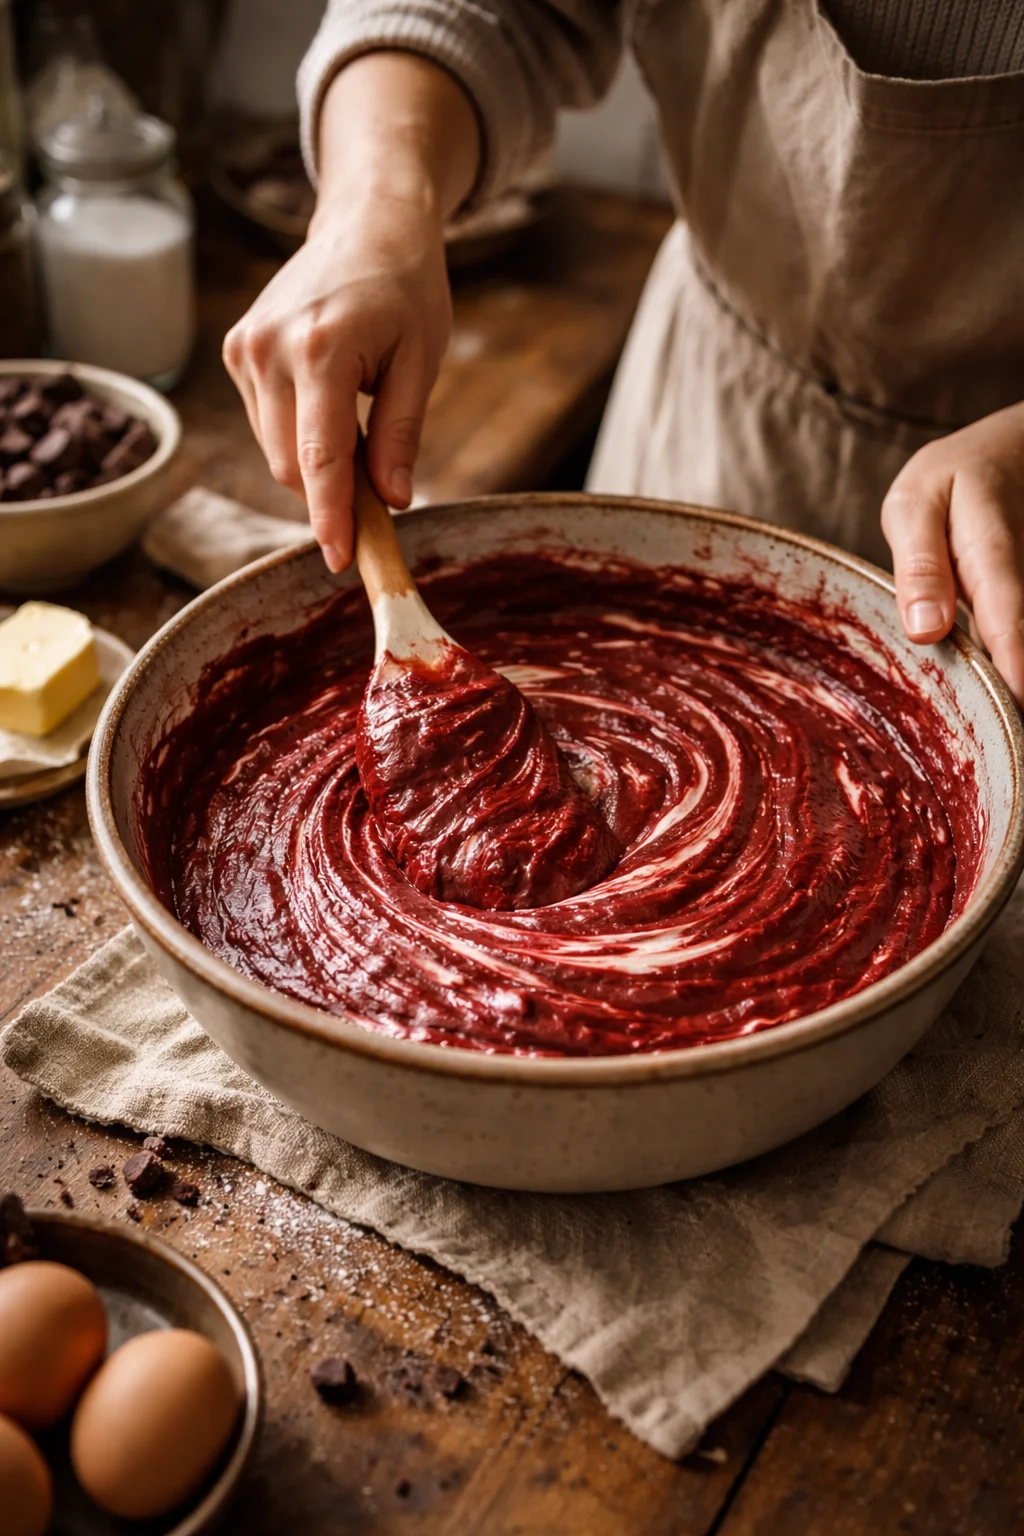
- Big payoff, simple steps: You mix one brownie batter and one quick cream cheese mixture.
- That classic red velvet vibe: Cocoa plus vanilla plus a tiny tang, all in brownie form.
- Pretty without trying too hard: The swirl pattern is different every time, and it always looks cool.
- Great for sharing: These travel well and slice nicely once chilled.
If you are in a red velvet mood and want more ideas, I also keep thinking about this fun dessert I made recently, knock you naked red velvet cheesecake bliss. Different vibe, same happy reaction from people.
One quick note on ingredients, because this matters: use brick style cream cheese, not the tub kind. The tub version can be too soft and your swirl may melt into the batter instead of sitting on top like a dreamy ribbon.
Tips for making red velvet cheesecake brownies
This is the part where I save you from the little mistakes I made the first time. Nothing tragic, but I learned a few things that make the final brownies look and taste way better.
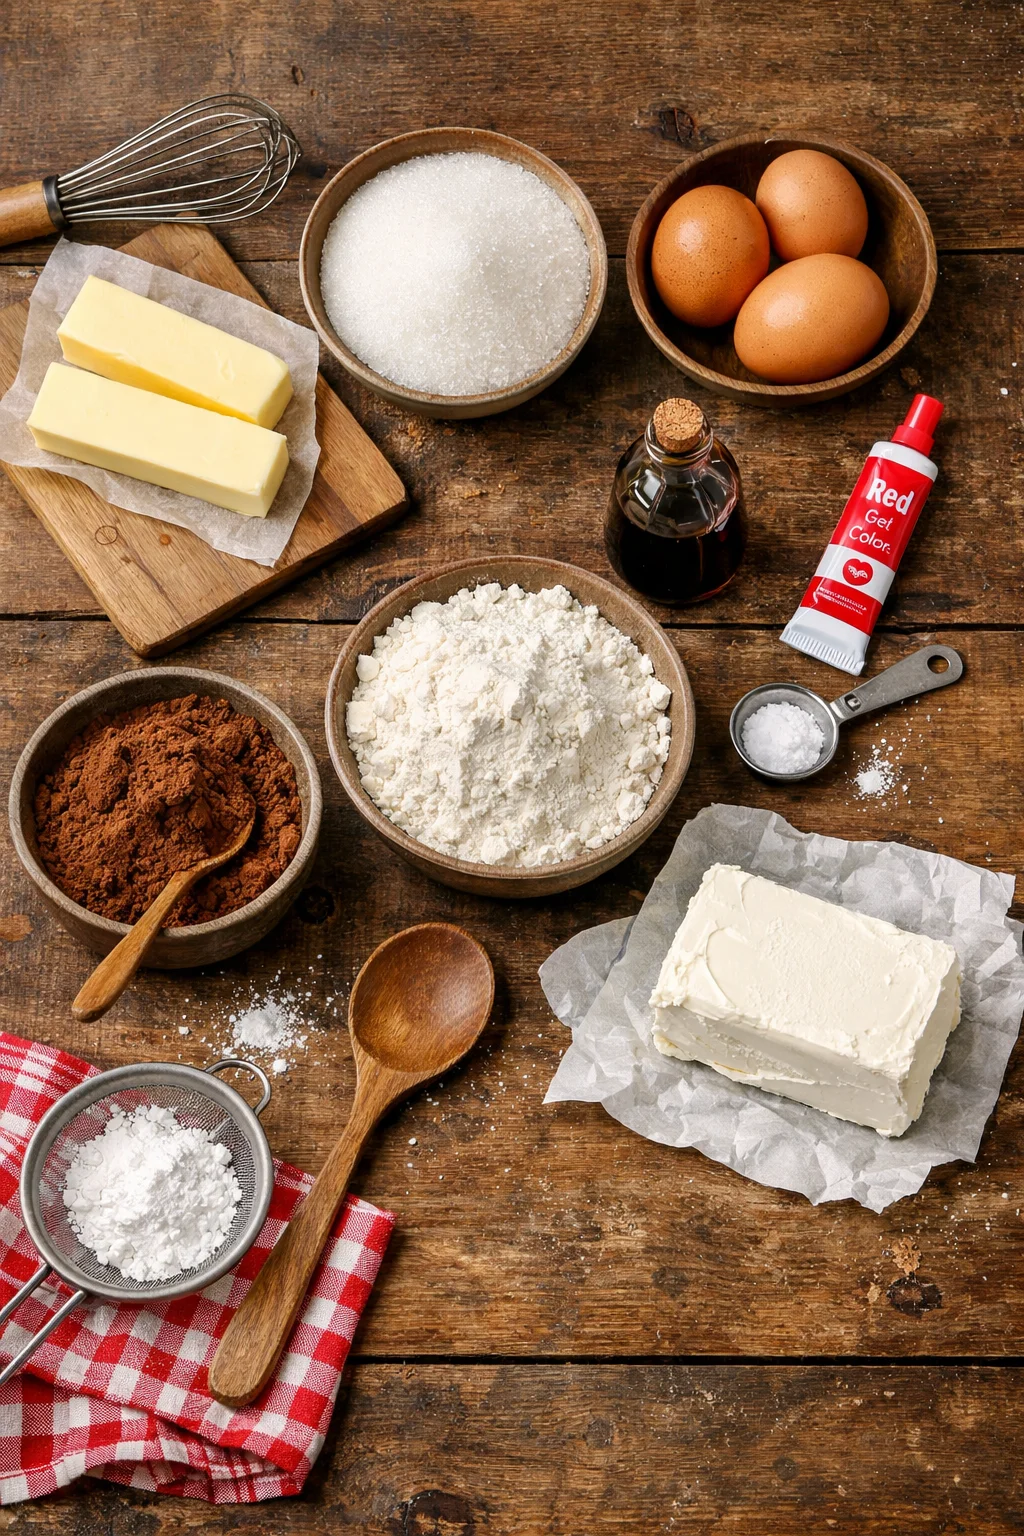
What you will need
I am keeping this practical. Here is the basic shopping list style lineup.
- Unsalted butter
- Sugar
- Eggs
- Vanilla extract
- Cocoa powder
- All purpose flour
- Salt
- Red food coloring gel or liquid both work
- Cream cheese brick style
- Powdered sugar
Now for the tips that actually make or break these Red Velvet Brownies:
1. Do not over swirl. A few figure eight motions with a butter knife is enough. If you keep going, the top turns pink and muddy and you lose that dramatic contrast.
2. Use room temperature cream cheese. If it is cold, it stays lumpy, and you will be tempted to over mix it. Let it sit out for 30 to 45 minutes.
3. Line your pan. Parchment paper with a little overhang makes lifting out the brownies so easy. Less mess, cleaner slices.
4. Chill before slicing. I know it is hard to wait. But 1 hour in the fridge turns them from gooey to clean cut squares.
Also, if you like brownies with a different twist, you might want to peek at these flourless Greek yogurt brownies. They are surprisingly satisfying, especially if you want something a little lighter.
“I made these for my sister’s birthday and everyone thought they came from a bakery. The cream cheese swirl stayed so pretty, and the texture was perfect the next day too.”
Getting the Perfect Brownie Texture
Let us talk texture because nobody wants a dry brownie pretending to be dessert. The goal here is rich and fudgy with just enough structure to hold that creamy swirl on top.
My easy texture rules
Do not overbake. This is the biggest thing. Your oven will keep cooking the brownies for a bit after you pull them out. I bake until the edges look set and the center looks slightly underdone. When you insert a toothpick, you want moist crumbs, not wet batter, and definitely not a clean toothpick.
Measure flour gently. If you scoop straight from the bag, you might pack in too much flour. I like to spoon flour into the measuring cup and level it off. Less flour equals more fudgy.
Mix just until combined. Once flour goes in, stirring too much can make brownies tougher. Stir until you do not see streaks of flour and stop.
Use a metal pan if you can. Metal pans bake more evenly for brownies. Glass can work, but sometimes it takes longer and the edges can get a bit more done than you want.
If you are a corner piece person, you can use a slightly smaller pan for thicker brownies, but keep an eye on bake time. Thicker brownies need longer, but you still want that fudgy center.
Variations
Once you make these Red Velvet Brownies one time, it is hard not to start playing around. Here are a few easy tweaks that work without changing the whole recipe.
Chocolate chip version: Stir in semi sweet chocolate chips or mini chips. I like mini chips because you get chocolate in every bite.
Oreo pop: Rough chop a handful of Oreos and fold some into the batter, then sprinkle a few pieces on top. It looks fun and feels extra cookies and cream.
More tangy swirl: Add a tiny splash of lemon juice to the cream cheese mixture. Not enough to taste like lemon, just enough to brighten it.
Holiday style: Add a little peppermint extract to the brownie batter, like one eighth teaspoon. Peppermint can take over fast, so go easy.
Heart theme: If you are making these for Valentine’s Day, I have also tried baking and cutting brownies into cute shapes. If that sounds like your thing, check out these heart shaped brownies with raspberry swirl cheesecake for more ideas.
One more tip: if you want a deeper red color, use gel food coloring. Liquid works too, but gel usually gives you more color with less extra liquid in the batter.
Can I freeze red velvet brownies?
Yes, and honestly, freezing is a little secret weapon for having dessert ready when you need it. I freeze Red Velvet Brownies all the time, especially if I am baking ahead for a party or just trying to keep future me happy.
How I freeze them:
Let them cool completely, then chill in the fridge until firm. Slice into squares. Wrap each square in plastic wrap, then put them in a freezer bag. If you are stacking them, add a small piece of parchment between layers so they do not stick together.
How long they last:
They are best within 2 months, but they are usually fine up to 3 months if wrapped well.
How to thaw:
Thaw in the fridge overnight for the cleanest texture, or leave one on the counter for about 45 minutes. If you want them slightly warm, microwave a piece for 10 to 15 seconds, but do not overdo it or the swirl can get runny.
Freezing also helps if you like a denser, extra fudgy bite. The texture after thawing is kind of amazing, like it all settles together.
Common Questions
1) Do I really need vinegar for red velvet flavor?
Some red velvet recipes use vinegar for tang and color reaction. For these brownies, you can skip it. The cocoa, vanilla, and cream cheese swirl bring plenty of that classic vibe.
2) What kind of food coloring works best?
Gel food coloring gives strong color fast. Liquid is fine too, you may just need more to get a true red.
3) My cream cheese swirl sank. What happened?
Usually the cream cheese mixture was too thin or over mixed. Next time, use brick cream cheese and mix just until smooth. Also do not press the knife too deep when swirling.
4) Can I make these in a 9×13 pan?
Yes, double the recipe for a 9×13 pan. Start checking doneness around the 28 to 35 minute mark, but trust the toothpick test with moist crumbs.
5) How do I get clean slices?
Chill the brownies, then use a sharp knife. Wipe the knife clean between cuts. It sounds fussy, but it makes them look bakery neat.
A sweet little send off
If you want a dessert that looks special but still feels relaxed to make, these Red Velvet Brownies are it. You get that rich chocolate bite, a tangy creamy swirl, and a pan of treats that people will hover around. I hope you bake them soon, and if you do, do not stress about the swirl, it always turns out pretty in its own way. For more red velvet inspiration, I like comparing recipes like Red Velvet Brownies – Eats Delightful, Red Velvet Cheesecake Brownies – Pretty. Simple. Sweet., and Red Velvet Brownies with Cream Cheese Frosting (with Video) to see little differences in swirl style and bake times. Now go grab that cream cheese and cocoa and make your kitchen smell like a bakery for the afternoon.