

Chocolate Peppermint Cookie Cups with Cheesecake Filling are my secret holiday party hack when I want something cute, festive, and totally irresistible without spending all day in the kitchen. If you love the cozy vibe of peppermint and the creamy chill of cheesecake, these little cups are going to be your new favorite. They look fancy but come together with simple steps and a few smart tips. Plus, they’re easy to transport and nearly impossible to mess up. Friends and family always think I bought them from a bakery, which is my favorite kind of compliment. 
Tips for Perfecting Chocolate Peppermint Cookie Cups
I’ve baked a lot of cookie cups over the years, and these are the little details that take them from good to unforgettable. The dough needs to be soft but not sticky, the pans need gentle prep, and the filling should be fluffy and smooth. If you want that bakery-style look, read through these before you start mixing.
Smart ingredient swaps that actually work
- Use room-temperature butter and cream cheese. It blends better and helps prevent lumps.
- Reach for Dutch processed cocoa for a deeper chocolate flavor, but natural cocoa still works if that’s what you have.
- Choose peppermint extract, not mint extract. Peppermint gives that classic candy cane vibe. Mint can taste a little like toothpaste.
- Crush candy canes gently in a bag using a rolling pin. Big chunks look cute on top but can be too crunchy in the dough.
- Line your mini muffin pan with a quick spritz of nonstick spray and a light dusting of cocoa powder to keep the cups from sticking.
Pan prep and shaping for clean edges
Chill your dough for about 20 minutes before scooping. This gives you a thicker edge that holds its shape in the oven. Use a teaspoon or the back of a small measuring spoon to press the centers down right when they come out of the oven. Don’t let them cool first or they’ll crack. If you have a wooden tart shaper, even better, but a spoon handle works fine too.
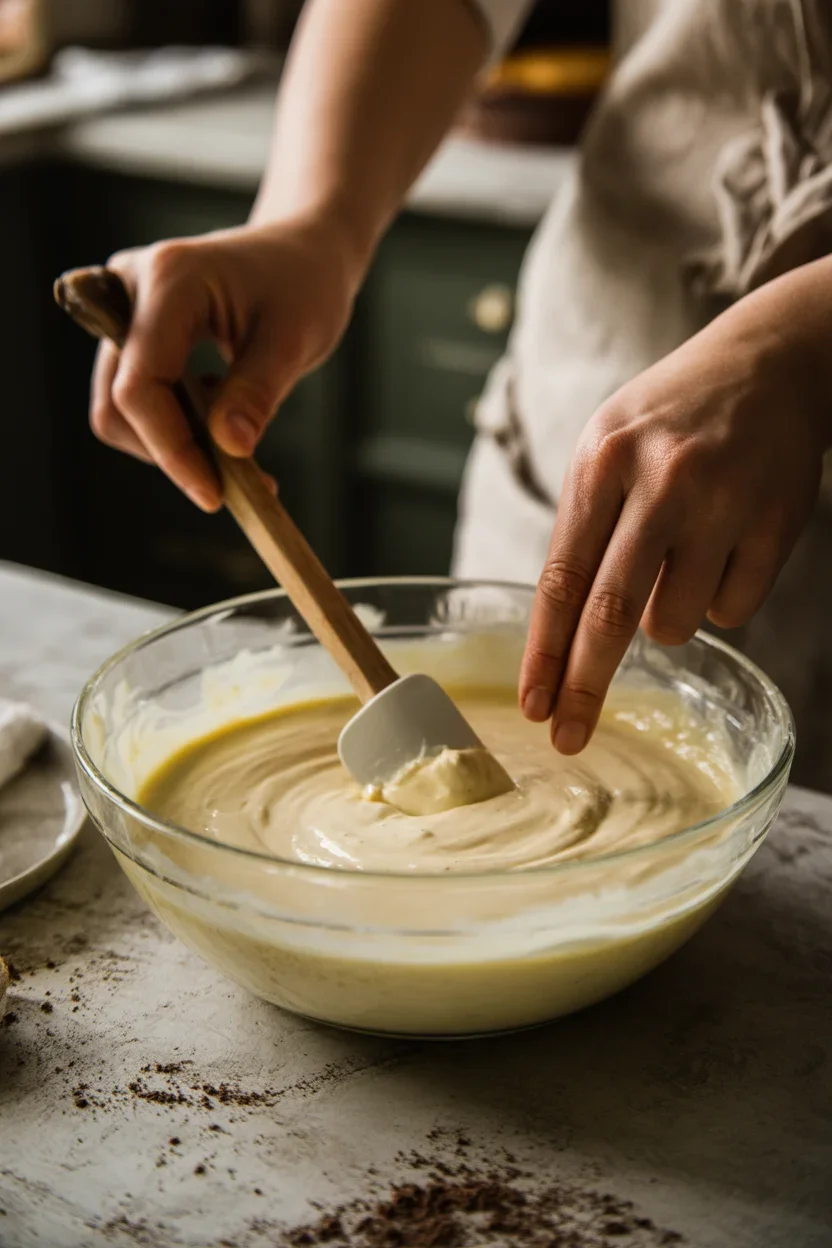
Cheesecake filling that stays silky
Beat the cream cheese until smooth on its own before adding sugar. Then fold in whipped cream or a bit of whipped topping to lighten things up. If your filling is too runny, pop it in the fridge for 10 to 15 minutes, then pipe or spoon it in. You can add extra peppermint extract to taste, but start small. That stuff is powerful.
Want a chocolate-mint overload for a cookie tray? Check out these chocolate peppermint brownie cookies. They pair perfectly with these cups and make your dessert spread look super intentional without extra work.
“I made these for our holiday game night and everyone grabbed seconds. The cheesecake filling was velvety and the peppermint crunch was just enough. Zero leftovers and my sister asked for the recipe on the spot.”
One last thing: if your edges brown faster than you expect, your oven may run hot. Pull the tray a minute early and let carryover heat finish the job. You’ll still get a soft center and crisp edges.
More Variation Ideas for Cookie Cups
These cups are a dream for customizing. Once you nail the basic method, switching flavors is easy. Keep the core chocolate dough, or swap it for a vanilla or red velvet version. The cheesecake filling plays well with everything.
Flavor twists that make a big impact
- Mocha peppermint: Stir in a teaspoon of instant espresso powder to the dough.
- Double chocolate: Add mini chocolate chips to the cups for extra meltiness.
- White chocolate swirl: Fold in melted white chocolate to the cheesecake filling and ripple it lightly.
- Cookies and cream: Crush chocolate sandwich cookies into the filling and sprinkle more on top.
- Raspberry peppermint: Add a tiny spoonful of seedless raspberry jam under the cheesecake layer for a sweet surprise.
- Ganache crown: Place a small dollop of chocolate ganache on top of the cheesecake. If you need a super reliable ganache guide, this how-to on chocolate ganache is fantastic.
For gifting, try mini liners and store in a cookie tin. For parties, place each cup in a little paper cup and add a mint leaf or small candy cane for a festive touch.
Frequently Asked Questions About the Recipe
Even the most straightforward recipe can spark questions, especially around bake times and textures. Here are the answers I wish I had the first time I baked a batch.
How do I know when the cookie cups are done?
Look for puffed centers and set edges. The tops should lose their glossy sheen. Usually 9 to 11 minutes in a mini muffin pan does it, but ovens vary. Slightly underbaked is better than dry; they’ll continue to set as they cool.
Why did my cups sink too much?
That can happen if the dough is too warm or you press the center down too early. Chill the dough, and press the centers gently right after baking, not mid-bake. If they sink a lot, just add more filling. No one will complain.
How can I keep the peppermint flavor balanced?
Start with 1/2 teaspoon of peppermint extract in the filling. Taste, then add a few drops more if needed. The crushed candy cane on top boosts the mint flavor, so be mindful.
Additional Recipes for the Holiday Season
If you’re building a dessert board, pair these cups with something chewy and something creamy. A mix of textures keeps everyone interested. I love adding a bright, fruity cookie to balance the chocolate, and maybe a rich chocolate dessert for the die-hard chocolate fans.
Two ideas my family requests every December: these chewy white chocolate cranberry cookies for sweet-tart balance, and a slice of decadent hot chocolate cheesecake for the rich, cozy vibes. If you want that ultra-smooth chocolate hit, the cheesecake is a showstopper. Find it here: hot chocolate cheesecake.
If you like stuffing cheesecake into everything like I do, you’ll probably love these soft cookies filled with cheesecake goodness too. They’re a clever cousin to these cups and just as fun to serve.
Expert Baking Tips and Tricks
Here are the extra details that turn you into the person whose desserts always disappear first.
Chill and rest times
Chilling dough keeps your edges defined and prevents spreading. If you can, chill at least 20 minutes after mixing. After baking, let the cups cool in the pan for 5 minutes, then transfer to a rack. Removing them too soon can cause crumbling, and too late can make them stick.
Storage and make-ahead strategy
Unfilled cups store well at room temperature in an airtight container for up to 3 days. Filled cups should be refrigerated and are best within 48 hours. If you’re serving later, bake the cups the day before and whip the filling the morning of the event. Pipe in the filling just before serving and top with candy cane pieces so they stay crisp.
What to do if the cups stick
Run a thin offset spatula or butter knife around the edge while the cups are still slightly warm. If you prepped the pan as suggested, they should pop out easily. A silicone mini muffin pan also helps.
Finishing touches that look fancy
Pipe the filling using a star tip for pretty swirls. Sprinkle with crushed candy canes, mini chocolate chips, or shaved chocolate. A small drizzle of chocolate sauce on the plate makes them dessert-plate ready without much effort.
If you’re looking to level up with another fun bake that mixes chocolate with a surprise center, these cheesecake stuffed chocolate chip cookies are absolutely crowd-pleasing and carry the same cozy theme.
Common Questions
Q: Can I make these gluten-free?
A: Yes. Use a good 1-to-1 gluten-free baking flour. The texture is slightly more tender but still holds shape in the pan.
Q: Can I freeze the cookie cups?
A: Freeze unfilled cups for up to 2 months. Thaw at room temperature, then fill. I don’t recommend freezing filled cups because the texture of the cheesecake can change.
Q: Can I use a regular muffin pan instead of mini?
A: Sure. Increase bake time by a few minutes and keep an eye on doneness. You’ll get fewer, larger cups, which look great for plated desserts.
Q: How sweet is the filling?
A: It’s lightly sweet and creamy so the peppermint and chocolate shine. If you prefer sweeter, add 1 to 2 extra tablespoons of powdered sugar after tasting.
Q: What’s the best way to crush candy canes without a mess?
A: Place them in a zip-top bag, use a rolling pin, and cover with a towel to quiet the noise. Tap gently, don’t pound. You want small bits, not dust.
A Sweet Little Treat You’ll Make Again
These little beauties deliver everything I crave in December. Rich chocolate, cool mint, and a fluffy cheesecake center that makes you pause after the first bite. When you’re ready to bake, keep these notes handy and don’t stress the details. The process is forgiving and the result looks like a bakery treat. If you want more inspiration, I love these takes on the idea: Chocolate Peppermint Cookie Cups from Liv for Cake and another fun version from Inside BruCrew Life. Now it’s your turn to make a batch of Delicious Chocolate Peppermint Cookie Cups with Creamy Cheesecake Filling and watch them vanish. 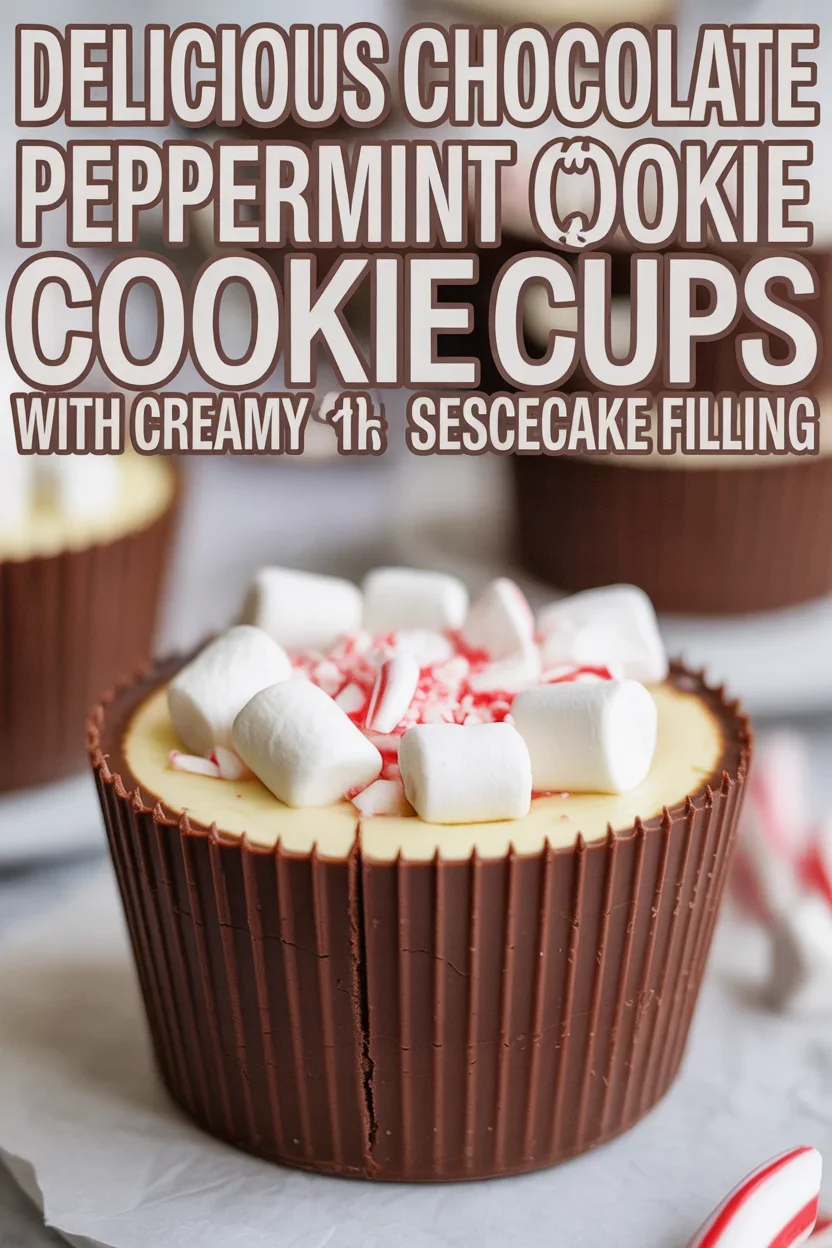
Chocolate Peppermint Cookie Cups with Cheesecake Filling
Ingredients
Cookie Cup Ingredients
- 1 cup butter, room temperature Use room-temperature butter for better blending.
- 1 cup granulated sugar
- 1 cup brown sugar
- 2 large eggs Use room temperature.
- 2 cups all-purpose flour
- 3/4 cup Dutch processed cocoa powder For deeper chocolate flavor.
- 1 teaspoon baking soda
- 1/2 teaspoon salt
- 1/2 teaspoon peppermint extract Start small for flavor balance.
- 1/2 cup crushed candy canes For topping.
Cheesecake Filling Ingredients
- 8 oz cream cheese, softened Beat until smooth.
- 1/4 cup powdered sugar
- 1 cup whipping cream Whip before folding in.
- 1/2 teaspoon peppermint extract Add to taste.
Instructions
Cookie Cup Preparation
- Preheat your oven to 350°F (175°C).
- In a large bowl, beat together the room-temperature butter, granulated sugar, and brown sugar until fluffy.
- Add the eggs one at a time, mixing well after each addition.
- In a separate bowl, combine flour, cocoa powder, baking soda, and salt.
- Gradually add the dry ingredients to the wet ingredients, mixing until combined.
- Stir in peppermint extract.
- Chill the dough for about 20 minutes.
- Use a teaspoon to drop the dough into mini muffin pans lined with nonstick spray and cocoa powder.
- Bake for 9-11 minutes or until the edges are set.
- Press centers down with a teaspoon immediately after baking.
Cheesecake Filling Preparation
- In a bowl, beat the cream cheese until smooth.
- Add the powdered sugar and mix well.
- Fold in the whipped cream carefully to maintain fluffiness.
- Add peppermint extract to taste.
- If filling is too runny, refrigerate for 10-15 minutes before using.
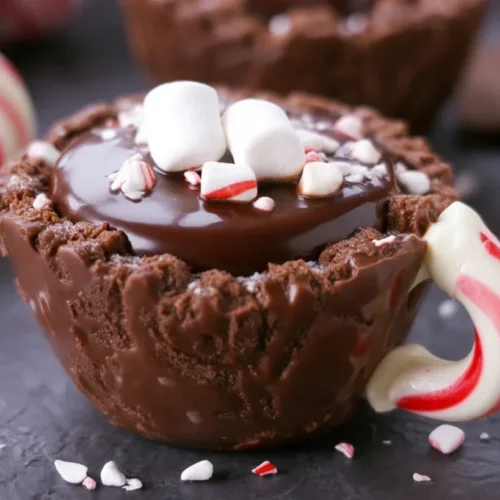
Assembly
- Once cool, fill cookie cups with the cheesecake filling.
- Top with crushed candy canes.
- Serve and enjoy!